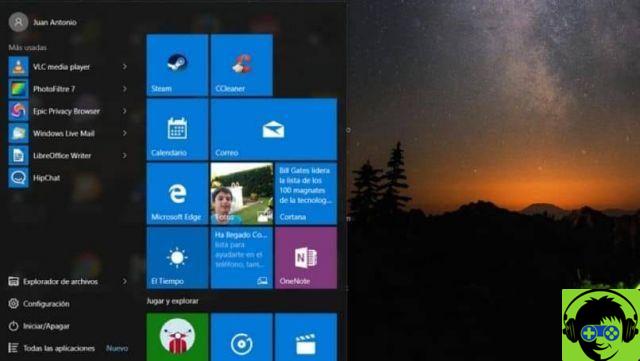
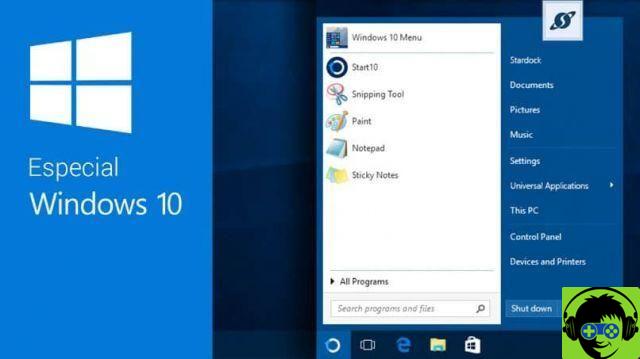
The start menu which disappeared in Windows 8 and it is possible that due to the large number of complaints issued by its users, is back in Windows 10. This element of the interface allows a accesso quick and easy to the main applications, programs and functions of the system.
In a previous article, really very interesting, we were able to tell you something more about this aspect. And we explain how to make downloaded apps appear in the start menu of Windows 10. Here we demonstrate how versatile this operating system is and the different configurations we can make in the boot menu.
How to Rename Start Menu Apps in Windows 10
Go back to the start menu to the new and latest version of Windows and it arrived with a colorful and fresh air. Where we can give our personal touch, not only to the icons but also to the names of the applications we have installed on our computer. These are the improvements that the users of this operating system appreciate.

So, all installed applications, which we can find in the boot menuWhile it may not seem true, we can rename or change the name, as well as other changes. And in this tutorial we will show you how to make it possible. And surely you are wondering and why do it? And the answer is very simple.
When we download an application that performs a task specific, usually comes with an English name and are often complicated names. If we have a wide variety of Apps installed on our computer, the search can be complicated if we make a mistake while spelling the name, which is why we need to change it to one that is easier to write and remember.
Steps to Rename Start Menu Apps in Windows 10
Now, in order to change the name of applications in the start menu in Windows 10, you need to perform the following operations. It is important that you know first that this change must be made one by one. You must also remember that the system saves and sorts the names in alphabetical order, in this way you can make an App appear before the others.
As a first step we go to the Start menu and here we will look for the application to which we will change the name. We select it with the cursor and right-click on it. This action will generate a context menu with many options and we will choose the More option.
Now we will look at another group of options and here we have to choose the Open File Location option. When we click, we will go to the window Windows File Explorer and here we can see the application link path.
So this shortcut is the one we will change the name to the one we like best or it will allow us to remember what this App is about.
Now we just have to close the open windows and go to the boot menu to verify that the application name has actually been changed. Before concluding we must remind you that you cannot change the name in Apps that come natively with the operating system, only those you have downloaded.

Now you can realize how completely it can be configurable this operating system and the many functions it offers you for it. And how fast can you do it by following the instructions we show you in this tutorial.


