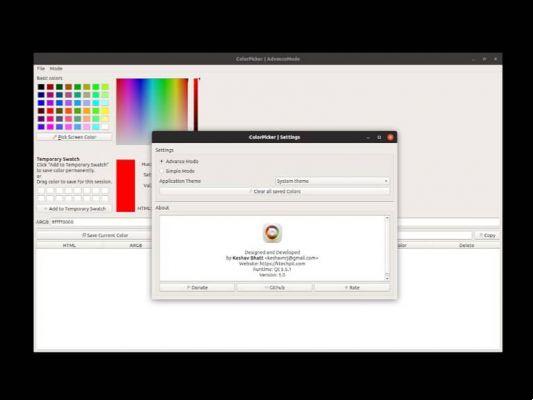
Know how to install the Color Picker facilitates the color selection process and editing a specific image. In addition, it is a holder that comes integrated with a snap package. In order to work quickly in Ubuntu it is important that you learn which ones with the basic and most useful Ubuntu commands
Its structure consists of a color picker called QColorDialog from Qt. The purpose of the tool allows for better identification of tones, modification and storage of graphic material.
In simpler words, it is software that allows users to create new custom or unique colors for their projects, quickly and easily. As for example, the colors you also need to modify and customize the Ubuntu terminal
Step by step guide to install the Color Picker
The color installation procedure in Uburutu or Color Picker is really fast, you just need to activate a few packages or hook up your computer or equipment. Its steps are as follows:
Download and run the tool
In case you do not have the software, the user must download the software from the web or from any other application provider. Clearly, if you intend to perform this procedure online, the ideal is to do it through the application stores. Once on your computer, you need to go into the Color Picker folder and then perform its functions on your system.
A tip is to have a stable internet connection for the extraction, as if there are any problems, the program could bring codes and operational obstacles.
Activating snaps
The snaps are based on packaged applications, ie they are developed under the same compilation for Gnu / Linux computers. The instructions are framed in the Snap Store, an application store.

Snap activation is given via the terminals Ctrl + Alt + T, accompanied by the following commands: sudo apt update && sudo apt install snapd. Understanding its meaning and understanding allows users to run and install Color Picker faster.
Activate session
In case of having performed the previous step, the account will have to be closed on the computer and reopened. Restarting the systems allows the account to update the default settings.
Once the Ubuntu snap packages are active, the Color Picker application will be installed. The command is activated via a combination Ctrl + Alt + T.
You will also need to enter the command sudo snap install color-picker, then wait for the system to boot up by itself. After this procedure, the color program will be activated and ready to be used with the formats connected to it. In case of problems, the ideal is to consult the help of a specialist in these matters.
These are the most important features to install the Color Picker
Like any other application, the Ubuntu tint program or Color Picker has some important features, including the following criteria:
- It is a tool that has a simple and an advanced mode, this to offer better functions for projects.
- It has 5 formats, all have a color code, being: Hex-RGBA, HTML, RGB, CMYK, HSB/HSV and some of its variants.
- The user can choose or modify the color selector at any time, in order to have better management and accuracy of tones available.

- È can create a series of lists of pigments to save and reuse the samples taken.
- The software includes an operation section for activating three themes, the system default theme is flat light and dark theme. It should be noted that this feature is found in the settings panel.
- It can be compatible with almost all types of computers, at the same time, you can use some tools which have color picker for a project.
With these colors you create, you can modify and customize, for example, your Ubuntu desktop and change the color of the folders.
If you no longer want to have a program or application, or you no longer need it, the Ubuntu operating system allows you to delete it from the terminal.


