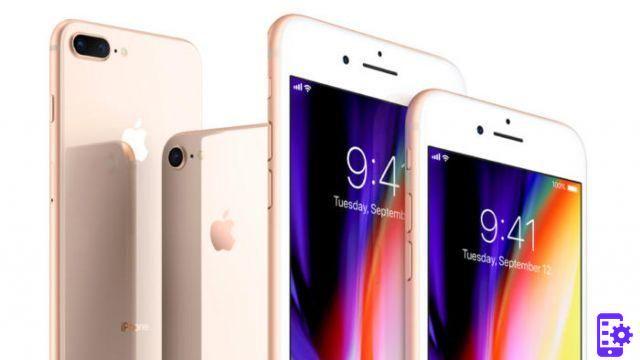
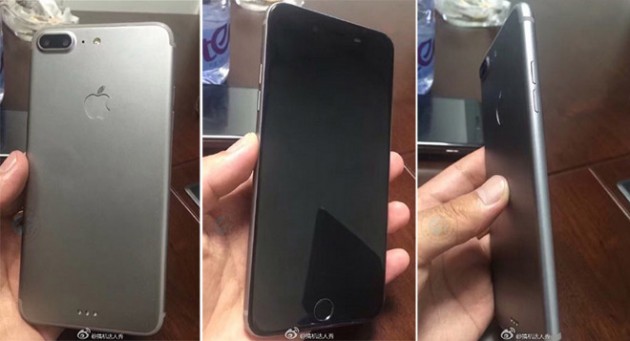
This video is also part of my column "HOW TO TAKE BETTER PHOTOS WITH iPhone" (we are at episode number 17). The phenomenon of the "green dot" in photos with iPhone is very common (and not only on iPhone). It is a Lens Flare effect and it can be solved in two ways. In the video I explain everything.
In this article we want to summarize some key points of this shooting problem that you must always keep in mind to improve your shots. Let's start:
Green dot in photos with iPhone
Have you ever taken a picture and noticed a "green dot"? This phenomenon is very common but it is also easy to avoid with two methods. This phenomenon is called Lens Flare and it is due to rays of light that go directly into your lens.
![<a name= Green dot in photos with iPhone: how to solve? [# 17]](/images/posts/f80ba8735a5c32eeddec868f181ff587-0.jpg) Green dot in photos with iPhone: how to solve? [# 17] 1">
Green dot in photos with iPhone: how to solve? [# 17] 1">Obviously this phenomenon is not only on the iPhone but in general on any photographic device, because it is due to a direct light (which can be from the sun or a light source) that enters the lens, hitting the target.
It is not always a ball but in general a polygonal shape that varies depending on the type of light source in front of you and how it affects the smartphone (or camera) sensor. Fortunately, as mentioned, this problem is easy to stem:
How to Avoid Lens Flare
There are two methods to eliminate the Lens Flare but it should be said right away that there are some situations in which you cannot do it, for the simple reason that using one of those two methods could irreparably ruin the photograph or simply make it too bad to be taken.
"Move the ball"
The simplest and most effective method is to make sure that the ball of light moves to a non-annoying point or where it is simply no longer visible, before taking the picture.
![<a name= Green dot in photos with iPhone: how to solve? [# 17]](/images/posts/f80ba8735a5c32eeddec868f181ff587-1.jpg) Green dot in photos with iPhone: how to solve? [# 17] 2">
Green dot in photos with iPhone: how to solve? [# 17] 2">In fact, before taking it, if you have a light source that is creating a Lens Flare in your lens, you can tilt or move the smartphone in such a way as to move that dot to an invisible area of the photo (outside the scene for example), so as to eliminate it completely.
Eliminate the dot with Snapseed
If for some reason it is completely impossible to delete the Lens Flare with the method shown above, then we can try to remove it in post production, using the PC or a very convenient free app such as Snapseed (which we have already told you many times). To see how, watch the YouTube video at the top of this page.
Basically the idea is to make the Lens Flare happen in a well confined area of the photo, possibly in an area from homogeneous color like what you see in the picture. By doing so through a simple algorithm implemented by Snapseed, it will be possible to select the Lens Flare and let the app remove it using the "Correct" tool, replacing it with the homogeneous background that surrounds it.
- DOWNLOAD | Snapseed for iOS
- DOWNLOAD | Snapseed for Android
Other useful tricks
Once you have mastered this mode, you can also add a few more tricks that we have seen in the other episodes. For example, you can use the Burst mode, that is, hold down the shutter button to take many more photos and then choose the best one.
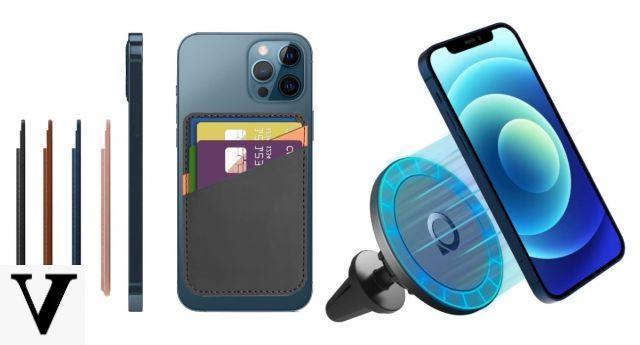
Another trick is to change the exposure: once you have focused on a point of the photo, with your finger swipe on the screen in order to increase / decrease the brightness level of the photo, so as to enhance lights or shadows. Finally, don't forget to always carry a comfortable bag with you tripod like these:
Doubts or problems? We help you
Remember to subscribe to our Youtube channel for videos and other reviews. If you want to stay up to date, subscribe to our Telegram channel and follow us on Instagram. If you want to receive support for any questions or problems, join our Facebook community or contact us on Instagram. Don't forget that we have also created a search engine full of exclusive coupons and the best promotions from the web!

![Green dot in photos with iPhone: how to solve? [# 17]](/images/logo.png)


