The first Galaxy Alpha always remains a great mobile, released during 2015. In its various versions, however, it is not always easy to find a way to Root it. Here is the definitive method:
Note: always note that this operation invalidates your warranty and disables the KNOX. As the Galaxy Alpha (G850F) came in two versions (SnapDragon and Exynos) first check the chipset you have via CPU-Z. This operation is customized for Exynos chipsets, which for the most part are those distributed in Europe.
Procedure via KIES
First, install Select3. This will allow you to have the right Drivers available to recognize the mobile phone to the PC and then communicate to us. Once installed and the mobile phone has been recognized, close Kies and search for its process via the Task Manager (which you can open with the combination CTRL + SHIFT + ESC, going to Details).
Get CF-AutoRoot from here. This contains both the Odin software needed to modify the mobile phone and the file needed to write the Firmware.
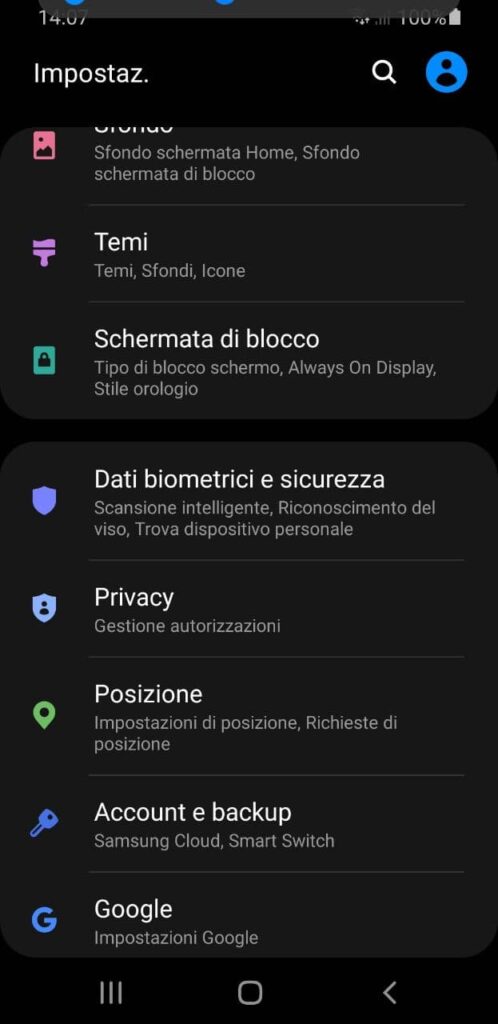
Before starting all this, make sure that the mobile phone battery is sufficiently charged (as long as it is around 80%) and that the “Reactivation Lock” function is disabled. You can look for it in the settings, which has a useful combined search (just press on the magnifying glass and search for "Reactivation").
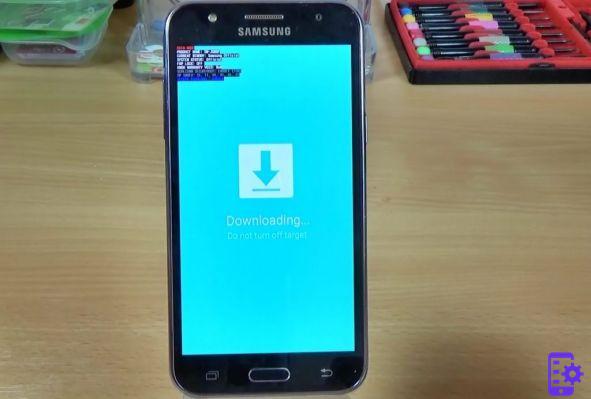
Start ODIN and check if the ticks on F.Reset Time and Auto Reboot are active. Then click on AP (or PDA) and insert the AutoRoot file (which is in MD5 format). Once this is done, turn off your mobile phone and start it in Download mode. You can do this by pressing the power key along with Home and volume down. Confirm that you are aware of what you are doing and connect your cell phone to the USB.
Odin will tell you that he has detected the cell phone (you can see the message in his section). If Odin does not detect mobile phones, try to turn off the Smartphone again and always bring it back to Download, this time with the USB connection already inserted.
Click on Start. At the end of the operation your mobile will restart and be Rooted. You can check if the Root is present via the Root Checker
Procedure via TUNESGO (1 click root)
Download, install and run TunesGo and you will see that the program will automatically detect the Android device connected to the PC via USB cable.

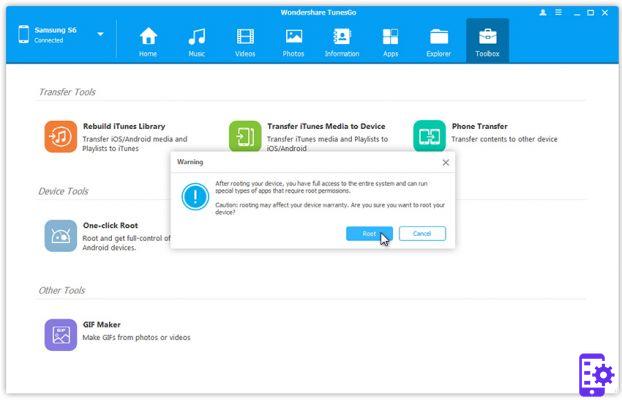
Step 2. Click on the Toolbox tab at the top and then on the One-click Root icon to start the rooting procedure of your device

Step 3. Confirm you want to proceed by clicking on the Root button
Done!
118


