By now we hear more and more of the Stories on WhatsApp. They were introduced in early 2017 and have arrived for both the Android application and the iOS application. They were originally designed to completely replace the profile status, which, however, was reintroduced due to the discontent of the majority of users. Their operation is practically identical to that of Instagram and Facebook Stories.
In this guide we will see everything there is to know about this topic. We will see how WhatsApp Stories work, how to publish them, how to delete them and much more.
Index
- How WhatsApp Stories work
- Add a Story
- Delete a Story
- Submit a Story
- Protect the Stories
- Check who has seen a Story
- View the Contact Stories
- Respond to Contact Stories
- Turn off Contact Stories
- Other related guides
How WhatsApp Stories work
WhatsApp Stories were introduced in early 2017. Their operation is virtually identical to that for Instagram stories e Facebook. They are protected by the crittografia end-to-end AES a 256 bit. The State section which allows us to insert a new Story and view the Stories of our contacts. The photos, videos, GIFs and statuses we publish are visible to all our contacts for 24 hours, after which they will be deleted and can no longer be recovered.
You can take a photo or record a video right now, or upload them directly from our gallery. Furthermore, it is also possible to simply add states with phrases, stickers and emojis.
Add a Story
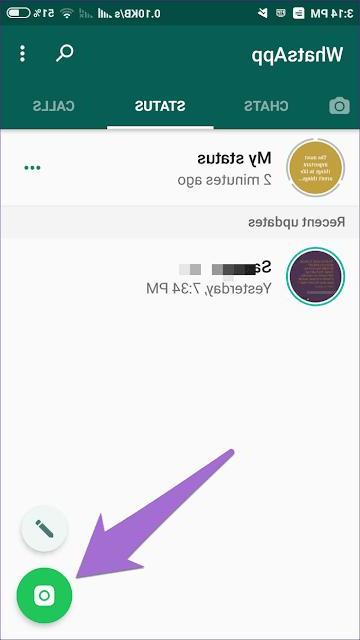
There is one in the app State section, between the Chat and Calls sections. If we move through it, we will see several subsections. We have the section Recent updates and section Viewed updates.
To add a Story just select the item My status. This will open the camera of our device. We can decide to take a photo or record a video by holding down the central button. We can too load a photo, video or GIF present in our gallery by making one swipe dal basso verso l'alto.
Once we have chosen the content to publish, we can modify it adding emojis, texts and freehand lettering. Just click on the relevant icon to decide which change to make.
After customizing it, we can publish it by selecting Send, the icon located at the bottom right. Once this is done, all we have to do is wait for the content to be uploaded.
Delete a Story
WhatsApp Stories are deleted automatically after 24 hours. However, it is possible before the canonical 24 hours. In this case, the procedure is slightly different for the two versions of the application.
Procedure for Android
If we use a smartphone Android, we must go to the section State and select the [...], present in the subsection My status. In the new screen we are shown all the Stories that we have published and which have not yet been deleted. We keep our finger pressed on a state to select it. At this point we can select all the Stories that we intend to eliminate. Finally, we select the icon of the Trash can to delete them.
Procedure for iOS
If instead we use a iPhone, let's go to the section State and select the icon [...], next to the wording My status. In the new screen we will be shown all the Stories that we have published in the last 24 hours. To delete a content just make one swipe from left to right and select the item Delete.
Submit a Story
WhatsApp offers us the possibility of forward a story to our contacts. To do this, we need to follow the following steps.
- Let's go to the section State;
- We select the icon [...], placed next to the wording My status;
- In this new screen we are shown all the Stories that have not yet been deleted;
- We choose the content to send and select the icon Submit;
- Finally, we select the contact and select Send.
We remind you that it is only possible to forward our Stories.
Protect the Stories
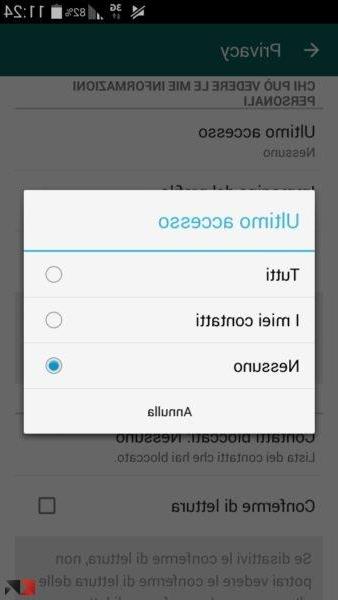
The messaging application allows us to hide the last access, remove the blue double check and block a person. Many users are unaware that it is possible to hide Stories from certain contacts.
- Let's open WhatsApp and open the Settings;
- We select the item Account;
- We select the item Privacy;
- In the new screen we select the item State;
Once this is done, we can choose between 3 options.
- My contacts: shows our contents to all contacts.
- My contacts except: Denies some people from viewing.
- Share with: View to a close circle of people.
Check who has seen a Story
After publishing a content, we can see who has seen it. Let's move into the section State and select the icon [...], placed next to the wording My status.
In this new screen we are shown the list of published contents. The number of contacts who viewed it. At this point, just select a content and make one swipe from bottom to top to view the list of contacts who have viewed it.
View Contact Stories
As with Instagram and Facebook, we too can view the Stories that our contacts publish. There are two subsections in the Status section.
- Recent updates: we can view the Stories of our contacts that we have not yet seen.
- Viewed updates: the Stories that we have already viewed are shown.
In both cases, in order to view the contents, simply tap on the name of the contact who published that particular content. Here, too, the rules on privacy are vigilant. If a contact has blocked us or prevented us from viewing their content, we will not be able to view the published Stories.
Respond to Contact Stories
Also on WhatsApp we can respond to Stories posted within the application. To do this, we enter the section State, we display the Story that interests us and we carry out one swipe from bottom to top on the item Reply. We write our answer and select Send.
Our answer will appear in the chat of the contact as a simple message with the quote to the History to which we have replied.
Turn off Contact Stories
If for some reason we do not want to view the contents posted by a particular contact, we can decide to deactivate their Stories. To do this, just go to the section State.
If we use a device Android, we will have to keep pressed the contact to deactivate and select the option disable.
If we use a iPhoneinstead, we'll have to make one swipe from right to left on the contact name and select the entry disable.
Once this is done, all the deactivated Stories will be inserted into the section Deactivated and they will no longer bother us.
To bring everything back to normal, just repeat the procedure and select the item Attiva.
Other related guides
Below is a list of related guides that you will surely find of interest to you.


