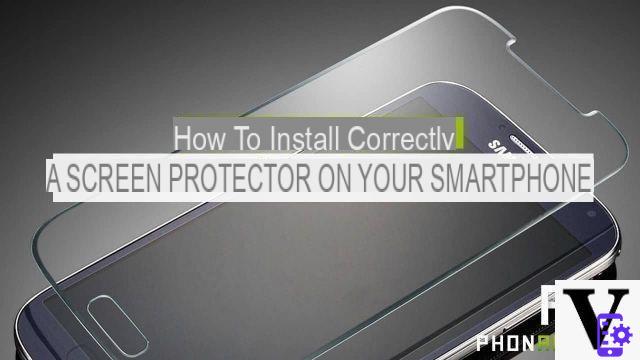
Putting a protective film on the screen of your smartphone correctly and without smudging is not as easy as you might think. If you've ever torn your hair out trying to get rid of the nasty bubbles that linger between the shield and the screen, without success, this tutorial is for you.
Summary- Smartphone: choosing the right screen protection
- Smartphone: clean your screen
- Smartphone: remove the protective film
- Smartphone: get rid of air bubbles
- Smartphone: remove the top film
- Comments
When we offer ourselves a smartphone brand new, many of us want to pamper it. We buy him an original shell, a selfie stick and we even install the latest version of its operating system. To protect the most fragile and sensitive part of its anatomy, its precious touch screen, some users also opt for screen protection.
Smartphone: choosing the right screen protection
First of all, it is important to choose the type of protection you are going to add to your phone. To avoid affecting the responsiveness of your touch screen, we advise you to opt for tempered glass protection. It is also the most impact and scratch resistant material. For an optimal value for money, you will have to pay between 5 and 10 €. Avoid protection for 1 € or less, they are obviously of poor quality.
Smartphone: clean your screen
Before you do anything, you're going to need to start by thoroughly cleaning your touchscreen first. For optimal cleaning, use a microfiber cloth and cleaning fluid for electronic devices. If you need some advice, take a look at our tutorial to clean and preserve your smartphone from dirt.
Before you get down to installing your protection, we advise you to carefully scrub your work surface, to avoid impurities and traces of grease, responsible for the famous air bubbles. For the following maneuver, avoid dusty or dirty surfaces.
Smartphone: remove the protective film
Now is the time to get down to business! For a perfect, homogeneous and bubble-free installation, follow the maneuver:
- Before gluing the glass, first do a test, this will allow you to better understand the way in which you are going to deposit the protection.
- Gently peel off the protective tab attached to the top of the protector.
- Then slowly place the glass on the screen while peeling off the rest of the tab. This is the most important moment of the pose.
- Adjust your protection. You have a few minutes before the film is fully fixed. Enjoy it! To adjust the pose, use the physical buttons and sensors on the front of your phone.
Hint: before depositing your film on all edges, use a positioning wedge, like a bank card or a toothpick, which you put on a corner or two of your smartphone. Its presence will allow you to reposition your protection with a little more ease before it is completely removed.
Smartphone: get rid of air bubbles
Even if you have followed our advice to the letter, there may still be an air bubble or two between your screen and the protection. Above all, do not panic and do not remove the protection. Once peeled off, it will be even more difficult to fix it again without bubbles. To get rid of these nasty bubbles, take your bank card once again. Thanks to it, you will be able to scrape and direct the bubbles outwards.
Smartphone: remove the top film
Now all you have to do is remove the protective tab on top of the tempered glass cover. If you notice that some impurities still persist under the glass several minutes after installation, rest assured: these small defects will disappear on their own within 24 hours. If, despite all these tips, you still don't feel able to protect your screen yourself, Belkin has designed a machine that will make your life easier!
- Share
- Tweet
- Share
- Envoyer à un ami


