Episode 9 of the section "HOW TO TAKE BETTER PHOTOS WITH IPHONE" where I tell you about tricks and tips on photography with the iPhone. In today's episode I wanted to create a further focus of the episode dedicated to night photos because, with this video, I will show you how take astrophotography photos with your iPhone.
In this article we want to summarize some key points of this shooting mode that you must always keep in mind to improve your shots. Let's start:
There is no trick!
Small premise, before seeing how to take astronographic photos with your iPhone, you will need to have at least the basics of night photography. For this I have already dedicated a video that you can watch very quickly by clicking below. I highly recommend you to see it to refresh some concepts that are as simple as they are basic:
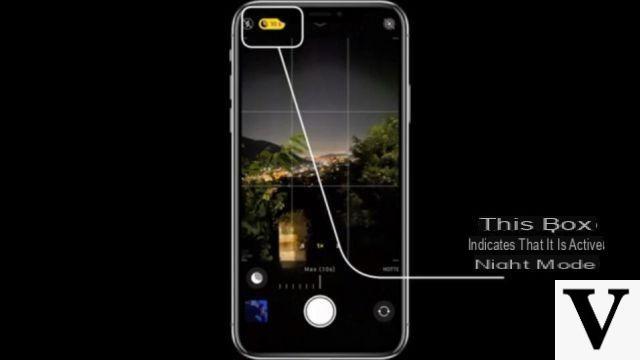
In this video I showed you how especially recent iPhones have the famous night mode, thanks to which it will be possible to extend the exposure time of the sensor up to a maximum of 30 seconds. By doing so, the smartphone is able to capture enough brightness to be able to identify any stars or celestial bodies, like the Moon or meteorites.
 How to take astrophotography photos (starry sky) with iPhone (# 9) 3">
The tripod is mandatory!
The tripod is mandatory, there is nothing to do. If you are even minimally experienced in the world of photography, you will know that holding your smartphone in your hands and taking a picture with a exposure time so great, the result will be a completely blurred photo, to be thrown away. Do you think that even a shutter speed of 1/30 of a second would be enough to make a photo blurred .. image now to hold the lens open for 3 seconds .. 5 seconds .. 10 seconds .. 30 seconds!
Furthermore iPhone notices if you are using a tripod, and only then will it extend the shutter speed beyond 10 seconds, up to 30 seconds. Otherwise the exposure time will be blocked to a maximum of 10 seconds, not enough to take home a night photo properly.
You don't have to spend that much
Obviously there are very expensive tripods, even among the tripods for iPhone. For example, I use a Manfrotto which is definitely not cheap. But there is no need to spend huge bucks, and in fact we have reviewed some extremely cheap and feature-packed smartphone tripods. Here is the best cheap in our opinion:
How to take astrophotography photos
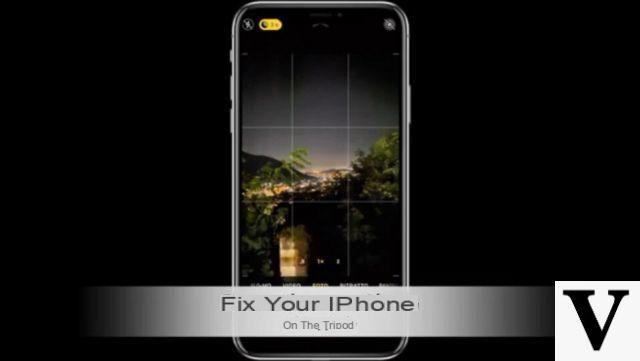
First step. Fix the smartphone on the tripod by framing the scene you want to be imprinted in the photograph. Obviously enter night mode so that the iPhone can set the appropriate shutter speed:
 How to take astrophotography photos (starry sky) with iPhone (# 9) 5">
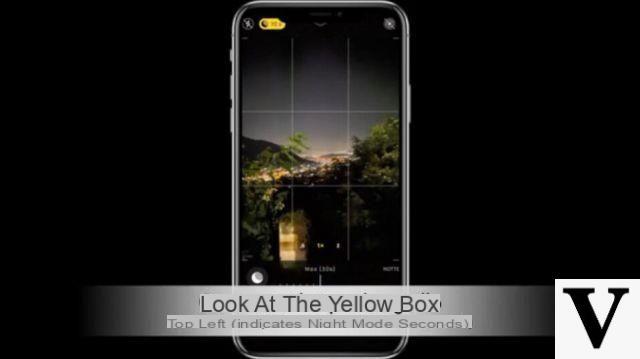
Look at the yellow box at the top left. There your iPhone will tell you what the set shutter speed is. Make sure it is set to 30 seconds to make it possible to take a night photo:
 How to take astrophotography photos (starry sky) with iPhone (# 9) 6">
Press the shutter button and wait for the iPhone to finish taking and processing the photo. The game is done! Since you are there, repeat the shot several times so that you can have more shots to decide what you like best.
Useful tips: light and post processing
A very useful tip that you must always keep in mind, is to not take the photo in the presence of artificial light, such as that of a light bulb or a street lamp adjacent to the street. These will make your photo overexposed or worse still totally white .. in short, to be thrown away.
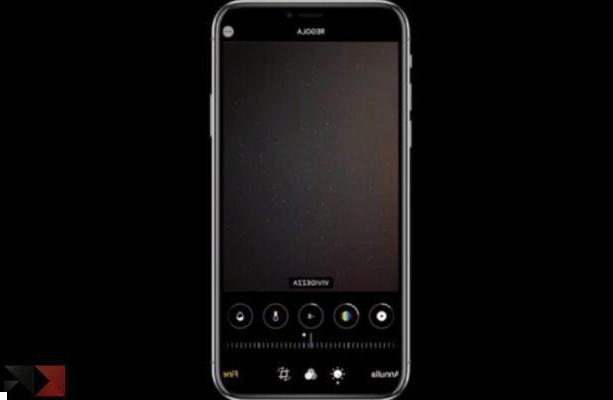
After having done your tests then, also take into account that you will have to retouch the photo: operation called post processing which can be done directly from the gallery dell’iPhone.
 How to take astrophotography photos (starry sky) with iPhone (# 9) 7">
Means the built-in editor of the iPhone we can modify the lights, shadows, contrasts, saturation and much more in order to bring out the sky and celestial bodies. Here too I suggest you take a look at the video above to see how I did it, but in general it all depends on your shot and the effect you want to achieve.
Other useful tricks
Once you have mastered this mode, you can also add a few more tricks that we have seen in the other episodes. For example, you can use the Burst mode, that is, hold down the shutter button to take many more photos and then choose the best one.
Another trick is to change the exposure: once you have focused on a point of the photo, with your finger swipe on the screen in order to increase / decrease the brightness level of the photo, so as to enhance lights or shadows. Finally, don't forget to always carry a comfortable bag with you tripod like these:
Doubts or problems? We help you
Remember to subscribe to our Youtube channel for videos and other reviews. If you want to stay up to date, subscribe to our Telegram channel and follow us on Instagram. If you want to receive support for any questions or problems, join our Facebook community or contact us on Instagram. Don't forget that we have also created a search engine full of exclusive coupons and the best promotions from the web!


