Layout in Word from PC
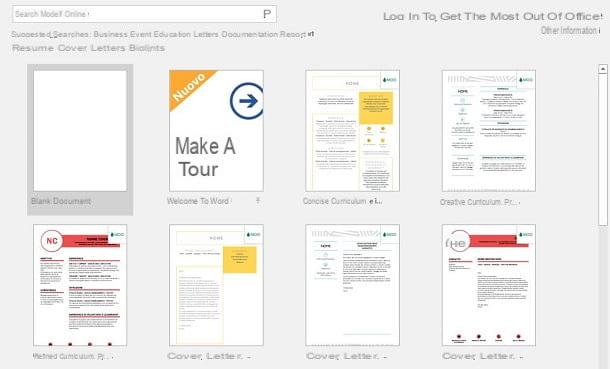
Before starting to tell you about the useful tools forpagination in Word, I must inform you that this word processor has a database with gods models preset that facilitate the formatting of the text, also thanks to the use of graphics to present your documents.
In fact, when you open Word, you can choose to create a blank document, which you will design completely yourself, or select one of the many ready-to-use templates, which are divided by category and type.
Anyway, in the next chapters, I will show you the layout tools present within Word, which can be used both in empty documents and in documents created starting from predefined templates. Another important thing that I want to emphasize is that, to make the tutorial, I used the version 2016 of Word. Despite this, the indications below should be valid for all editions of the program, starting from 2007.
Changing the font and font style
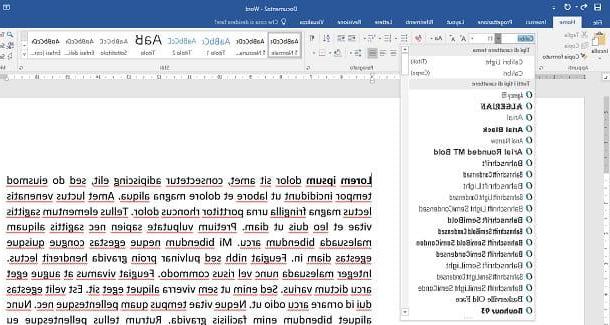
An important aspect to consider for a good layout in Word is to use a font it's a formatting suitable for the type of document to be drawn up. Reaching the board Home, located in the bar at the top, via the section Character, you can change the font of the text and its size.
Also consider using tools Bold, italic e Underlining to highlight relevant parts of the document. I recommend that you do not abound in the use of these tools, especially the Bold, because they could confuse and diminish the understanding of the text by those who will read it. In short, try to focus on key words or concepts to highlight. If necessary, you can also change the font color using the appropriate button in the same section of the toolbar.
In the area ParagraphInstead, there are functions for thetext alignment inside the sheet: you can choose between left alignment, to the right, center e justified. This last tool is useful when you have to present a document, as it makes sure that all the text is well distributed, respecting the margins of the sheet. L'center alignment it is, instead, useful in case you need to use titles, especially on the front page, which usually acts as a cover for the document. L'left alignment e to the right they are used above all in the case in which a letter has to be composed or references that start from the two lateral margins must be indicated.
If you need to create lists, use the buttons Bulleted lists, Numbered lists ed List at multiple levels, which you can customize using the appropriate button ▼ that you find next to each of them. The keys Decrease indent e Increase indent, allow you to change the indentation of the paragraph with respect to the margins of the sheet.
Another section I want to tell you about is the one called Styles, which is fundamental in the layout of the document. The text you type in Word defaults to style Normal paragraph but, if you are going to create paragraph or chapter headings, use styles 1 title, 2 title, and so on. If there were any citations or references that require a different style from the rest of the text, use the ones you find in this section.
Use of predefined themes and automatic creation of summaries
With regard to the above, the use of styles can be customized manually through the combination of tools that I have indicated to you. However, you can also proceed by accessing the tab Planning, which contains a list of predefined themes, thanks to which you can change the style of paragraphs, titles and any other element of the text. You can find the appropriate buttons in the section Document formatting.
Also, in the tab Planning, you can use the tools you find in the section Page background to add one Filigree to the document, for example to put the word "Reserved", set a background color (Page color) or create borders along the edges of the paper (Page borders).
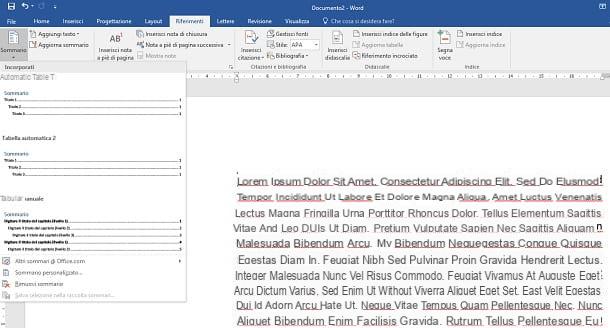
If, with the advice I have given you, you have arranged the text in several chapters, it would be useful create a table of contents so as to have a reference to quickly reach the pages that contain the topics you want to show. To do this, just press the button Contents, which you find in the card References, and select a style from the predefined ones or choose a custom one, using the voice Personalized summary, in the context menu. For more information on this feature, read my tutorial on how to create an index in Word.
Create a header and page numbering
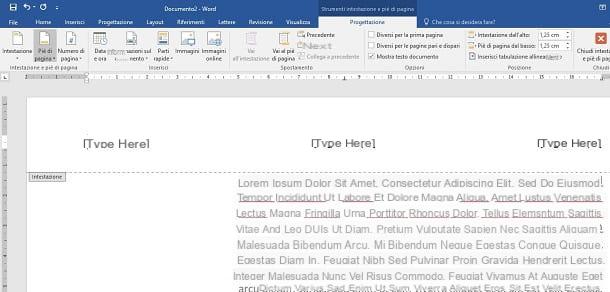
In the tab Inserisci, there are buttons that can help you create a letterhead that is the same for all pages or add page numbering.
To do this, locate the section Headers and footers and press pulsating Heading o Footer, to choose a style to attribute to the text you will type: by doing so, you will enter the editing mode, in which you will have to replace the default text with a customized one. By pressing the button instead Page number, you can choose where to place the numbering, which you can place in any area of the sheet, with the style you have selected.
Are you creating a document that requires the recipient to sign? In this case, use the button Signature line, which you find in the section Text, to add a custom signature field to the document area you specify. My tutorials on how to create a sheet of letterhead and how to sign a Word document may be useful for you to learn more about the procedure.
Setting margins and using columns
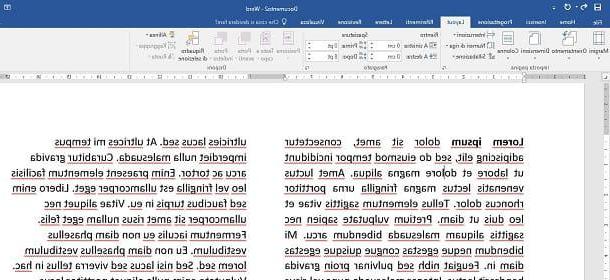
Finally, to conclude the page layout on Word, I want to talk to you about two other useful tools, which are present in the tab layout.
The first of these is the button Edges, which allows you to change the margins of the document. While Word's default configuration should be fine for most documents, other types of documents may need to change the margins. Take for example the case where you have a document with a large amount of pages, which you need to bind. In this case, it may be necessary to create more left margin to allow binding of the sheets.
Also, know that you can change the page orientation (the Orientation) by setting it to Vertical or Horizontal. Also in this case, the choice falls on the type of document you are creating. Just to give you an example, if you have arranged the text on several columns, using the button Columns, there are also some images, it could be useful to arrange the text on the sheet horizontally, for a better layout.
Layout on Word Online
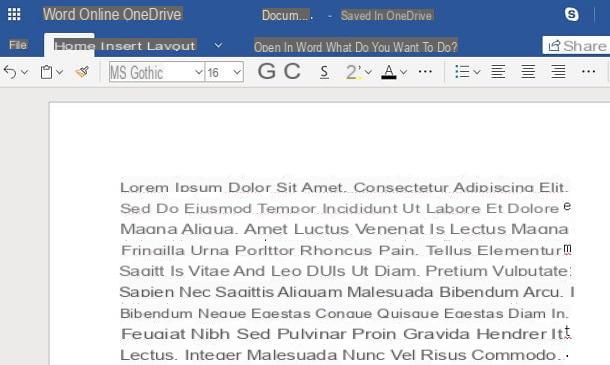
Word processing software can also be used in its online version, through the dedicated web panel, accessible at no cost by creating a Microsoft account. Although it does not have all the features of the desktop version, the most important features are available for free, so you can create your documents directly in the cloud and be sure to always have them at hand.
THElayout on Word Online it does not differ in any respect from what I indicated in the chapter dedicated to the desktop version. However, I want to clarify that, at the time of writing this guide, there is no feature for the automatic creation of summaries. If this tool is not essential for you, you can go into reading what I have shown you in the previous chapters to layout a Word document.
Layout on the Word app
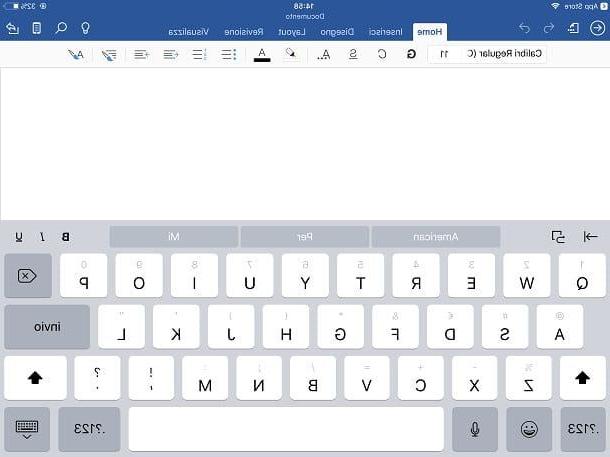
If you are always away for work and you use your smartphone or tablet intensively, the app Word it may be useful for you to make changes to documents. Word is available as a free version on both Android and iOS (for devices with dimensions equal to or less than 10.1 ″).
You also have the option to subscribe to a subscription plan at Office 365, starting from 7 euro / month o 69 euro / year, to access additional features. These features, regarding the layout of a Word document, are fundamental: in fact, although you can refer to the tools I have indicated in this chapter, in the free version you can only use some of these.
The subscription plan includes the ability to use columns, customize the header and footer and change the page orientation, just to give you some examples relating to the subject of this guide.
That said, the operation of Word from smartphones and tablets is very intuitive. On tablets there is a tabbed interface practically identical to that of the program's desktop counterpart (the one for Windows and macOS), on smartphones, on the other hand, to access the main text formatting functions, press the icon of the pencil located at the top right, then on the arrow and use the menu that appears below, which contains a drop-down menu with all the tabs of the classic Word toolbar (Home, Inserisci, Design, etc.).
How to paginate in Word


