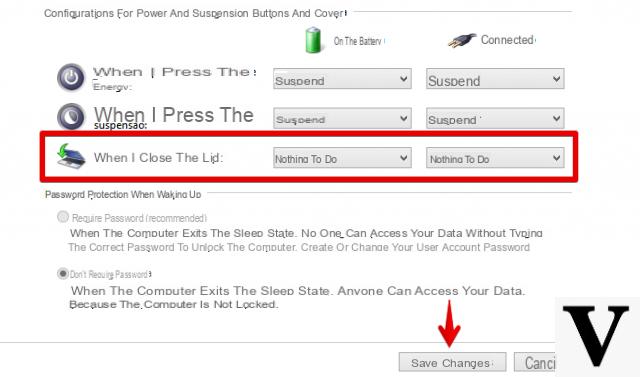
Do you prefer that your PC never goes into standby, so as to avoid possibly clicking on the power button and waiting for the computer to recover?
In fact, in this guide we will see how not to let the PC go to standby on Windows 10, Windows 8 and Windows 7.
Preliminary information
We always recommend doing an installation through one 100% genuine and original license, this is to avoid data loss or hacker attacks. We are aware that purchasing a license on the Microsoft store has a high cost. For this we have selected for you Mr Key Shop, a reliable site with free assistance specialized in in your language, secure payments and shipping in seconds via email. You can check the reliability of this site by reading the many positive verified reviews. Windows 10 licenses are available on this store at very advantageous prices. Furthermore, if you want to upgrade to the latest versions of Windows operating systems, you can also purchase the upgrade to Windows 11. We remind you that if you have a genuine version of Windows 10, the upgrade to the new Windows 11 operating system will be free. Also on the store you can buy the various versions of Windows operating systems, Office packages and the best antivirus on the market.
How not to let Windows 10 go to standby
Here are the steps to follow to prevent Windows 10 from going to standby:
- First click on the first Start menu and then on Settings (the gear icon on the left).
- Now click on System and from the left side menu select Power and suspension.
- At this point from the drop-down menu under the item If plugged into the mains, the PC goes into sleep state after selected Mai.
- If, on the other hand, you are using a laptop and you do not want the computer to go into standby when it is not connected to a power supply, select Mai from the drop-down menu under the item When running on battery power, the PC goes into sleep state after.
How not to let Windows 8 go to standby
Here are the steps to follow to prevent Windows 8 from going to standby:
- First of all, click on at the same time Win + C, Then Settings (i.e. the gear icon) and finally up PC settings.
- Now click on PC and devices and from the left side menu select Power and suspension.
- At this point from the drop-down menu under the item If plugged into the mains, the PC goes into sleep state after selected Mai.
- If, on the other hand, you are using a laptop and you do not want the computer to go into standby when it is not connected to a power supply, select Mai from the drop-down menu under the item When running on battery power, the PC goes into sleep state after.
How not to let Windows 7 go to standby
Here are the steps to follow to prevent Windows 7 from going to standby:
- First click on Start menu and type Control Panel in the search field below.
- Now select the item first Category from the drop-down menu next to View by (located at the top right), and click on System and security.
- At this point select first Change your computer's sleep settings and then Change advanced power management settings.
- From the drop-down menu at the top then select the your active power profile and from the screen below click on+ icon at Suspension.
- Now repeat the same step above on the voice Go into suspension afterwards and then on Mains power supply.
- Finally type 0, that is zero, in the box that you will see on the screen, first click on Apply and then on Ok.
- If, on the other hand, you are using a laptop and you do not want the computer to go into standby when it is not connected to an electrical network, repeat the previous step in correspondence with the item Battery powered.
Other useful articles
Doubts or problems? We help you
Remember to subscribe to our Youtube channel for videos and other reviews. If you want to stay up to date, subscribe to our Telegram channel and follow us on Instagram. If you want to receive support for any questions or problems, join our Facebook community or contact us on Instagram. Don't forget that we have also created a search engine full of exclusive coupons and the best promotions from the web!


