Do not worry, the icons have not disappeared. Simply from the initial setup of the system they are not for display. Customizing the Windows 10 theme and wallpaper is easy, so it will be easy for icons too.
That is, we can still find all those Windows characteristic cones in the settings: the basket, the computer, the control panel, the user folder, among others. Here we will show you step by step how to place, remove and customize desktop icons. We see.
Place or remove default desktop icons
To change the visibility of the icons on our Windows 10 desktop we have to follow the following steps.
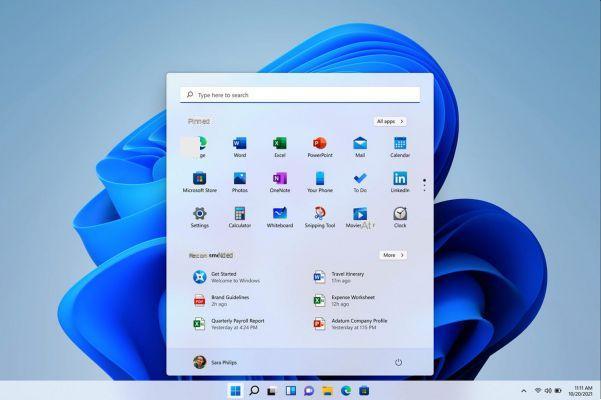
First we need to open the Windows start menu. The one located at the bottom left of the screen, marked by the four system windows.
Now we click on the gear or on the "Settings" section that we will see in the menu that has been displayed.
This will open the system settings window for us, in which we will select the fourth entry "Personalization", whose icon is a screen with a brush.
When the window is updated, a vertical menu will appear on the left, where we will choose the fourth option "Themes". Which will take us to the computer theme settings.

At this point, the system gives us the choice between changing themes or making related changes, we need to locate the "Desktop Icon Configuration".
The desktop icons configuration window will appear. Here we will have a panel where the icons are marked and deselected according to our choice.
If we want access to the recycle bin and user folder to appear on the desktop, we just have to mark these two options, click » Apply " And that's it.
There is the ability to select all icons to be displayed on the desktop, as well as deselect them all and get a clean desktop, with nothing. Remember to always press Apply to save the changes.
Customize desktop icons in Windows 10
At this point, it's possible that the question we started with about customizing desktop icons in Windows 10 still has some validity. Especially if there is a problem like when the Windows 10 desktop is not showing.
This time around, with the goal of changing the look of those icons we just configured to appear on the desktop.
The procedure is almost identical to the previous one, here we summarize it and explain how to customize your icons.
The first step is to locate the gear of the "Settings" of the system that you will find in the Windows 10 initial drop-down menu, you can find it in the lower left corner.
In the settings we will select "Personalization" and within this section the item "Themes" which is located in the vertical menu on the left.
Now, let's go to «Desktop Icon Configuration» to access the window where the icon layouts are changed.
In this way, just below the icons that the system shows you, also place the options «Change icon…» and «Restore default values». Since we want to customize the icons, let's select the first button.
It is important that you have selected the icon we want to change before clicking to customize it.
Finally, we will have a small window that offers us a range of icons included in the Windows 10 system. We can choose the one we want to replace the one that comes by default. Remember to press "OK" when finished to save your changes.
We hope this post is very useful to you and that you will never again have doubts when customizing similar desktop icons in Windows 10.
For more articles, icons and other curiosities that could be very useful to you, visit our page


