How to change the Windows 10 user account picture?
The Windows 10 operating system allows you to customize the system so that the PC adapts to the preferences of its owner and thus stands out from the others. With a few simple steps you can change the background image, customize the default sounds and notifications or, in this case, assign the Windows user account image, either by creating an administrator account or by posting.
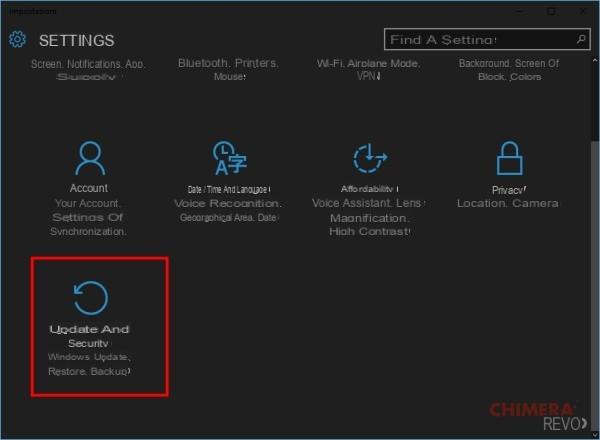
- You need to click on search window of Windows 10 operating system and select the option "Settings".
- You have to click on "Account" and a window will appear.
- In this window "Create your image" you can choose two ways to establish the user account picture.
- One is in the "Camera" option, where you can take a picture to place it on your profile, but you must have the webcam active; There is also the "Find one" option where a window will appear showing you the images you have archived and that you can choose to set it as your profile, finally click on "Choose image".
- You can see that the image chosen for the user account has been established.
Another way to change the image or place a new one can be done as follows:
- Click on the Start menu and on the account picture you need to right click.
- When a small window pops up you need to select "Change account settings".
- Another window will open with the “Windows 10 configuration”, in the “Create your image” option you can change your image; You can do this with the «Camera» option using the webcam or «Find one» choose from the images you have saved.
- The image will be changed immediately.

How to hide or delete Windows 10 user account picture?
Hide account picture:
If you don't want to see the user account picture for a while, you can hide it, this option is better than deleting the pictures completely, as recovering these pictures will be very difficult. It is very easy to hide the Windows 10 user account picture.
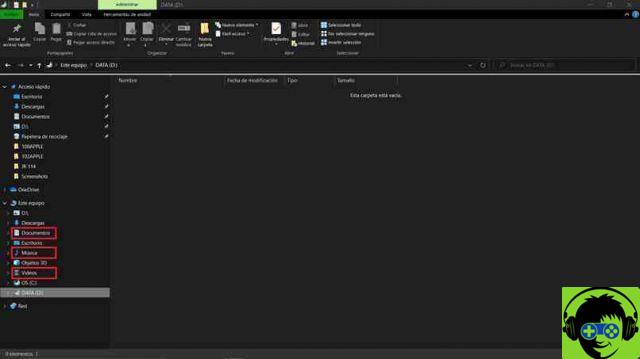
- You need to go to File Explorer.
- Go to path C: / Program data / Microsoft / User account images. (Or it can be written in English C: / ProgramData / Microsoft / User Account Pictures).
- Delete all images that appear saved in that path.
- Now you have to go to another path C: /User/Public/Account Images, (in English C: / User / Public / AccountPictures).
- In this path you will find a folder with the SID of your user, you decide whether to delete it or change its name.
- You must restart the system to see the changes made to the system.
Delete account picture:
All the images you establish in your Windows 10 user account are stored in the C drive directory, so you need to follow these steps to delete them:
- You must go to this path C: / user / (username) / AppData / Roaming / Microsoft / Windows / account images. In some countries this latter directory may be called "AccountPictures" instead of "Account Pictures".
- In this address you will find all the images you have used in your user account.
- So you can delete as many as you want.
By following these simple steps you will be able to change, hide or delete the Windows 10 user account picture. The Windows 10 operating system has a wide variety of options available to customize your PC and give it impressive visuals. It even allows you to increase the security of your account via a lock pin.
Also, if you share your PC with other people, it's best to configure your Windows 10 user account picture to suit your personality and thus differentiate your account from other members.
Another post will show you how to free up and optimize Windows 10 RAM memory, so that you can enjoy optimal speed of your computer. Go ahead and install Windows 10 on your PC and start enjoying everything this amazing system has for you. offers.


