To synchronize your Google contacts with a smartphone or computer, just a few steps are enough.
In fact, in this guide we will explain how see your Google contacts on Windows 10, macOS, Android and iOS.
How to see Google contacts on Windows 10
Here are the steps to see Google contacts on Windows 10:
- First click on the first Start menu and then on Settings (aka the gear icon).
- Now click on Account and from the menu on the left select Email and app accounts.
- At this point click on Add an account and select Google.
- Then enter your email address and password, first click on Allow and then end.
- Finally select Contacts da Cortana and select your Google account to view your contacts.
How to see Google contacts on macOS
Here are the steps to see Google contacts on macOS:
- First open System preference and select Internet account.
- Now select Google, enter your email address and password and click on NEXT.
- At this point select Contacts and click end.
- Finally, log into the application Contacts: you can manually search for it from Spotlight or in the folder Other of Launchpad.
How to see Google contacts on Android
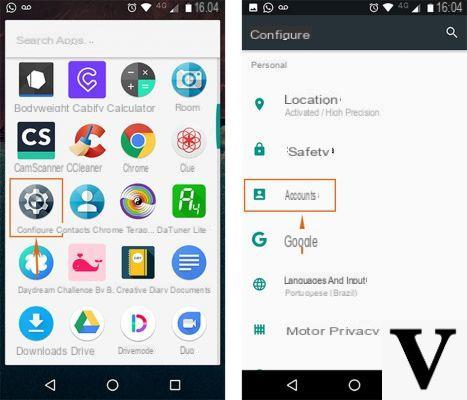
Su Android in reality, synchronization takes place automatically every time you add a Google account: you need to go to the app gmail (if not present then download it from Play Store), click on button with the three vertical lines at the top left and select Contacts.
How to see Google contacts on iOS
Here are the steps to see Google contacts on iOS:
- First, log in on Settings and click Account and password.
- Now click on Add account and select Google.
- At this point, enter your email address and password, and then click on NEXT.
- Finally activate Contacts, click on Save at the top right and in a few minutes with the app Contacts you will be able to see your Google contacts.
If you have any problems, check that the account is linked with one SSL connection, which is a secure connection:
- Come back up Settings and click on again Account and password.
- Now select the account you just added, and click on Account.
- Finally select Advanced at the bottom and move up On the switch lever at Use SSL.
Doubts or problems? We help you
If you want to stay up to date, subscribe to our Telegram channel and follow us on Instagram. If you want to receive support for any questions or problems, join our Facebook community.


