Not surprisingly, the work operating Windows still has functions that we do not know today or know how to activate them. This is the case with the virtual keyboard, depending on each version there is a way to activate it and change its size. That is why we offer you the following tutorial which will show you How to put and activate the virtual keyboard on my Windows PC screen? quick and easy.

By activating this tool we will be able to enter texts, numbers and emoticons without using the physical keyboard. And is that the keyboard is shown on the screen and for insert a character, you just need to click on that letter or number. And this appears in the document, it is ideal to use it when the physical keyboard has been damaged.
As we have already mentioned, there are many functions that this operating system offers us. In a previous article we showed you how to enable or disable the WiFi wireless function in Windows 10-8-7. And you certainly didn't know you can put and activate the virtual keyboard on my Windows PC screen, quickly and easily.
How to put and activate the virtual keyboard on my Windows PC screen
To get started we will show you first how to put and activate the virtual keyboard on the screen of my Windows 7 PC. You will realize that it is very simple to do, to activate it we will go to the start menu located in the lower left part, then we select all the programs, then Accessories.
We then continue with the Accessibility option, click and finally choose the On-Screen Keyboard option by clicking. Once this is done, the keyboard will automatically appear on the screen. As we have already told you, it is ideal when the physical keyboard is damaged, but you can also use it to search for a special character that we cannot find on our keyboard.
Also, to find or use Emoji, which you will use later on social networks, you can use it in applications such as Word, Notepad, etc. For activate the virtual keyboard in Windows 8 operating systems, proceed as follows. Let's go to the top right corner and we will be shown different icons and we will choose the one for the magnifying glass.
This is the search option and we're going to type the on-screen keyboard and then press the Enter key or choose the option offered by the system by clicking. And immediately the virtual keyboard will appear on the desktop. There is also another way to always have it visible on the taskbar.
To do this, we go to the taskbar with the mouse cursor and right click, this action will show us a menu. And we position ourselves on Toolbar and then click on Touch Keyboard. A keyboard icon will appear immediately, on the right side of the taskbar and whenever we need it, we just have to click on this icon.
How to put and activate the virtual keyboard on the screen of my Windows 10 PC
activate the virtual keyboard in Windows 10, we will use two different methods as this version of Windows has two different virtual keyboards. One is the on-screen keyboard and can be activated from the Accessibility section. And the other is the touch keyboard and in this you can change some aspects of its configuration.
To activate the touch keyboard we must do the following, position yourself with the cursor on the taskbar. Then you need to right-click so that a menu appears, in it you need to click on the option Show touch keyboard button. Doing so will mark it and it will stay active and its icon will appear on the right side of the taskbar.

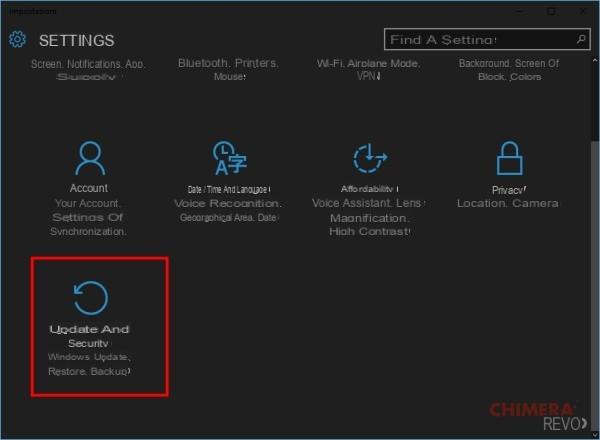
To activate or deactivate the on-screen keyboard, you have to go to and enter Settings and then you have to choose the Accessibility options. Now you will go to the Keyboard section and activate Use On-Screen Keyboard and it will appear immediately. This is how you learned How to put and activate the virtual keyboard on my Windows PC screen? - fast and easy


