Dark mode is an option that Windows has been introducing for a long time. However, its activation process depended on the registry editor, a different way than what Windows 10 now offers. If you wonder how to put Windows 10 photo application in dark mode easily? pay attention to this interesting article.
Just like you can turn on dark mode in Google Docs on Android and other applications, Windows presents several options similar to this one, like the one we'll talk about below.
How to put Windows 10 photo app dark mode easily?
Dark mode is a very useful tool for users who want to protect your eyes from the constant and bright light of the computer screen. Dark mode can be activated in Windows 10 and also for pre-installed system applications.
Next, we present all the information you should know about dark mode and an easy way to activate it for the Windows 10 photo app.
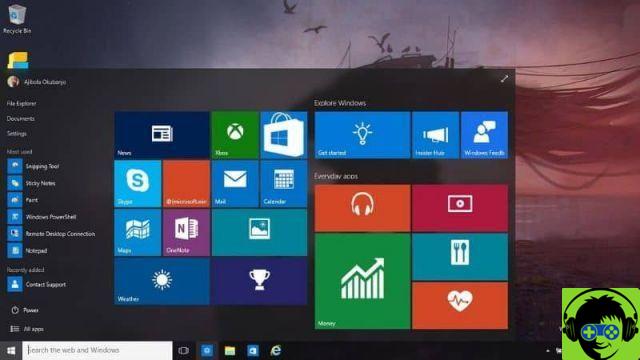
What is Windows 10 Dark Mode?
Dark Mode is a feature available in Windows 10 that changes the user interface to one "Night mode". This tool is characterized by the fact that the windows turn black, clarifying characters and icons.
What is this mode for?
Windows 10's dark mode serves to present the user with a more pleasant interface in an environment where there is little light and the screen is very bright. Therefore, it protects the sight of people who work long hours in front of the computer. Also, save your battery if you have one schermo OLED.
In the latest version of Windows 10, an extended dark mode has been introduced which includes all components of Windows Explorer. This way, activating the feature will reveal an even darker interface.
What is the Windows 10 Photos app?
The Photos app is a built-in Windows 10 program that works like the old photo viewer from previous operating systems. Has a customizable interface, a video editor, a photo editor and the option to create a custom album and even add 3D objects.
What is the Windows 10 Photos app for?
The Windows 10 Photos application is used to view photo by default. These files are stored on the computer, which performs the function of collecting them and showing them to the user. It also allows for video and photo editing, making this program more useful.
While some prefer to open photos with the classic Windows viewer, Photos packs in interesting options that the classic program just doesn't have.

Steps to put dark mode in Windows 10 photo application
To activate the dark mode to the photo application from Windows 10 you need to open this application. Then go to the menu icon (three dots). There you will find several options, of which you have to choose "Settings".
Upon entering the configuration, the system will show you several options. You have to select «Appearance». This option has the 'Mode' setting with three options: 'Light', 'Dark' and 'Use system settings'. Windows 10 marks the last option by default. However, you need to select the option "Dark" if you want to activate the black background.
Use dark mode in the photo app
Finally, you need to exit the application and reopen it. This way you will have activated the dark mode. Therefore, you will see the interface with a black background which will highlight your photos when there is little lighting in the environment.
Another optional process to activate this mode
Another easy way to put the photo app in dark mode is to go to "Settings" and select the option "Personalization". There you will find an option called "Colors". Right in the center of the window you will see the "Choose default application mode" section. So, you have to choose the color which in this case it will be "Dark".


