With the following guide you will learn how to install vcom MTK65xx Preloader usb port driver in Windows 10, 8 and 7, one of the many ways to install drivers for an Android tablet or mobile phone on a PC. It is certainly a very simple process, but it usually generates doubts in Android mobile users.
Most modern cell phones usually don't require these drivers to be installed, but if you have an older Android, you will most likely benefit from installing these drivers.
Automatically install vcom MTK65xx Preloader usb port driver
The first thing is to try install the driver in the usual way, i.e. by running the typical file.exe. Of course this will depend on the driver distribution you have, because depending on the device there could be differences.
In any case, if you do not have the MTK65xx driver, you can download its generic version directly from the following link: download MTK65xx driver.
Once you have successfully downloaded the driver, the first thing to do is to unzip the file using one of the best programs to open ZIP compressed files. After the above, you just need to run the installer. To do this, double-click InstallDriver.exe.

After doing the above, the installation process will begin, when the message appears "Install USB driver for Microsoft Professional successfully", the process will have been completed successfully.
How to install the Preloader MTK65xx USB vcom port driver in Windows 10, 8 and 7
The installation of the MTK65xx driver is usually required to perform actions such as viewing the screen of an Android mobile phone on the PC with a USB cable, but it is common for errors to occur with automatic driver installation. Therefore, in case the method shown above doesn't work, you can do it manually by following the steps that we will show you below.
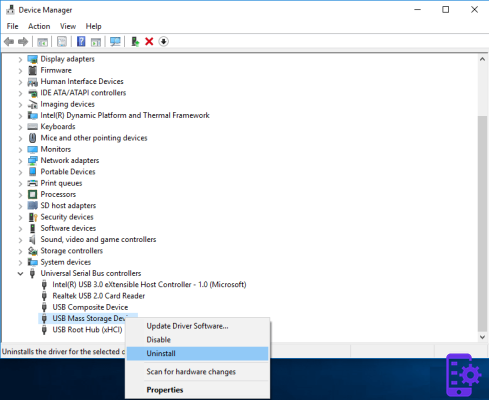
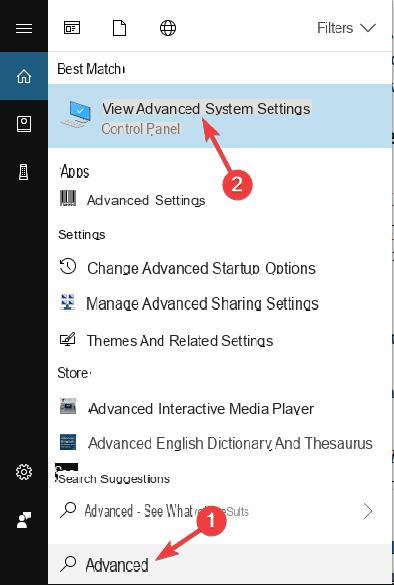
You will need to go to Windows Device Manager, to do this go to Windows Start and type "Device management". Once the program appears, click on it, all the devices installed on your computer will be displayed.
It is important that you click on your computer name that appears at the top (DESKTOP). Once you've done that, go to the section "Action" located at the top of the admin. Select the option "Add legacy hardware".
Manual installation
Click on a «Next» option and choose the option «Install hardware manually selected from a list (advanced)». Click on the «Next» option again. In the lower right part of the dialog you will see the option "You have disco", click on it.

A new called dialog will appear "Install from disk", here just select the "Browse" option. The folder name will depend on the driver distribution you have, however you need to make sure you select the correct version.
That said, try to choose the appropriate driver for your system, so you should know if your OS is 32 or 64 bit, as long as this is specified. Furthermore, you should also choose the appropriate one for your version of Windows.
Go to the folder where you downloaded the driver and select it. Next, the program will automatically select the file INF, click on «Open». To complete this process, click "OK".
Now you just have to select the option MTK USB port and click «Next». Wait until the installation is complete. If you have any problems, you may need to boot into Safe Mode in Windows 10 and try to reinstall the software.
If for any reason you need to install in Safe Mode, don't worry, the process is the same as we showed earlier, so you can review the steps above.


