If you have a memory card (external SD card) inside your Android phone (eg Samsung Galaxy, Motorola, HTC, Sony Xperia, etc.) that is full of files that are no longer essential and you want to make a clean sweep, in this article you will find the simple steps to follow to format SD Card on Android.
Format it means erasing the information and data stored in a device or memory card. Formatting the memory card (SD Card) is always a good thing to do if you are looking for better performance for your mobile device. For most smartphones, you can easily format the SD card using the device's internal functions. But before formatting the SD card it is recommended that you backup your files for possible future restoration. However we see below the detailed steps to follow.
1 Phase. Connect your Android device to the PC using a USB cable. Or use a "card reader" to access your SD Card from your PC. To backup data before formatting, all you have to do is access the SD card folder and copy all the files to a folder on your PC.

2 Phase. Swipe down the device screen to bring up the notification menu. From here click on the icon relating to the Settings function.

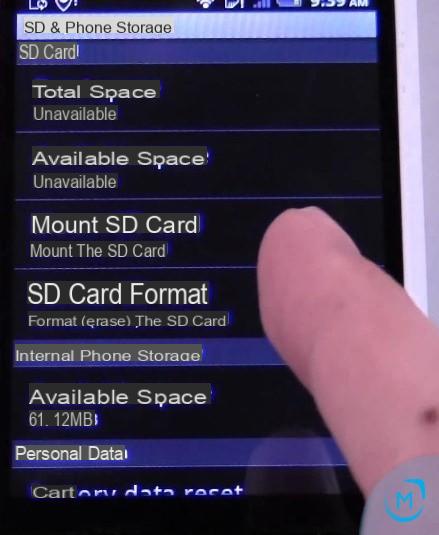
3 Phase. Click on the icon Memory and then several items related to the internal and external memory of your Android device will appear. Among the various options present there will certainly be one concerning the formatting of the SD Card.


4 Phase. Click on "Formatta SD Card”And a new screen will open in which a warning like“ The data cannot be recovered after formatting the SD Card ”will appear. Confirm the operation by clicking on "Formatta SD card” and then click on “Delete everything". The memory card will be formatted in a few seconds and a warning will appear when the operation is complete.

NB: Sometimes even with the formatting of the SD it is not said that the data inside it is recoverable. To be sure that all data is permanently and permanently removed, it is advisable to use an “android eraser” software like the one described on this page.


