In perpetual evolution, Gmail is teeming with more or less well-known functions. Here is a selection of tips for harnessing the full potential of Google email.
If Gmail is so popular, it is mainly because it is full of small functions that make life easier and save time on a daily basis. There are so many that we can still discover more after months or years of use… Especially since Google continues to improve its electronic messaging, on Web as on mobile, by adding or improving functions.
The range of Gmail is very large and not everyone has the same needs. Thus, functions such as intelligent writing, message templates, viewing conversations, canceling sending or blocking senders may seem anecdotal to some but be very useful for others. This how-to guide shows you lots of tips to help you get the most out of Gmail.
Change the display density of Gmail inbox on computer
In Gmail, it is possible to configure the display density of messages in the main list, which determines the number of messages visible in the inbox.
- Click on the icon Parameters, symbolized by a gear, at the top right of the window.

- In the Density section of the Quick Setup side panel, choose the display that best suits you: Default, Normal ou Compact. Do a test if you don't know what each mode corresponds to: this choice is not definitive and the effect is immediate, even when the panel is open!
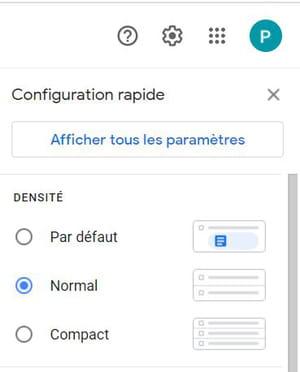
- Click on the cross at the top to close the panel when your choice is made.
Note that only the Default option allows you to directly display the attachments under the title of each message.
Change the inbox display density in the Gmail app
In the Gmail mobile application, it is also possible to choose the display density of the messages, which conditions the number of visible messages in the inbox.
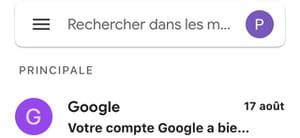
- Press them three sidebars from the Gmail menu at the top left of the screen.
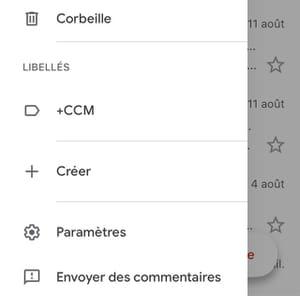
- Open the section Parameters the menu.
- Press the heading Conversation list density.
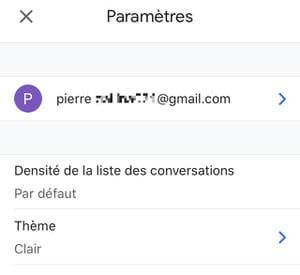
- Then choose the type of display:: Default, Normal ou Compact, then press OK.
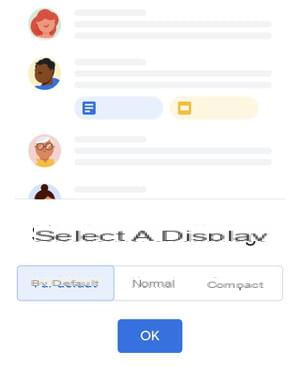
Again, only the default view allows you to see attachments in the inbox.
Add a visual theme to Gmail on desktop
If Gmail's default interface seems too austere, you can modify it using a decorative theme.
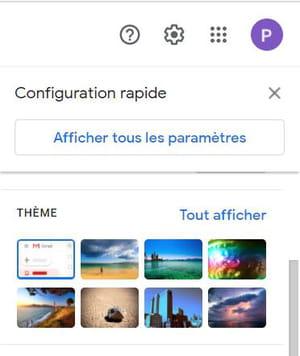
- Click on the icon Parameters, at the top right of the window.
- In the Theme part of the Quick Setup panel, choose a theme from those offered. If you don't like any image, click Load More.
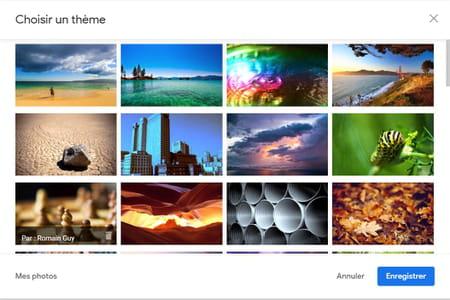
- Select a theme in the Choose a theme window and click on the button. Save.
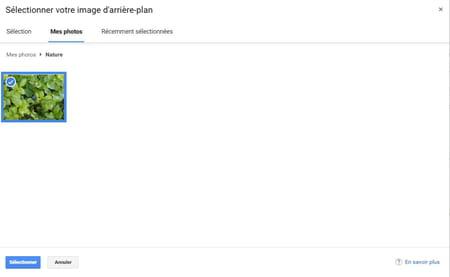
- You can also choose to use a personal photo by clicking on My pictures. A window will open with the photos in your Google Photos account to allow you to select the image of your choice. Choose your image and click on Select.
Change the type of Gmail inbox on computer
The web version of Gmail lets you choose how messages appear in the inbox.
- Click on the icon Parameters, at the top right of the window.
- In the Inbox type section of the Quick Setup panel, choose the mailbox that suits you best: Default, Important first, Unread first, Starred first, Priority, or Multiple mailboxes.
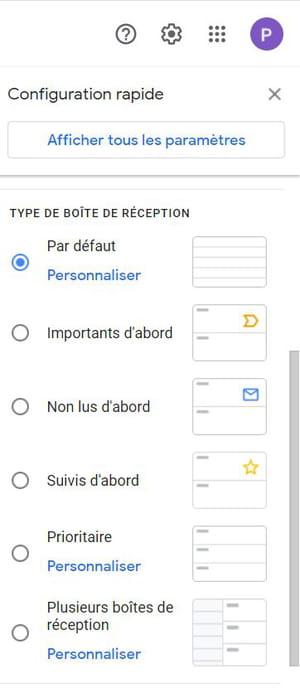
- To configure the Priority mailbox, click Personalize.
- To configure the Multiple mailboxes option, click Personalize their campaigns.
- In both cases, you will be redirected to the Inbox tab of the settings page to configure the options (here for the Priority inbox)
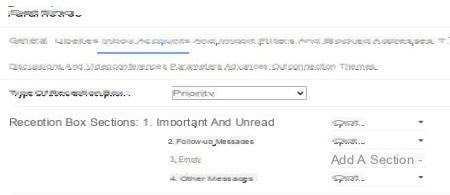
Note that changes made on the desktop version of Gmail will automatically be reflected in the inbox of the Gmail mobile app.
Change the type of Gmail inbox in the mobile app
Like the web version, the Gmail mobile app lets you choose how the inbox looks.
- Tap three sidebars from the menu at the top left of the screen.
- Open the section Parameters the menu.
- Then select your account in the Settings page.
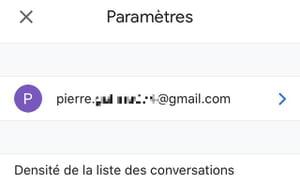
- Scroll to the inbox section and press Inbox type.
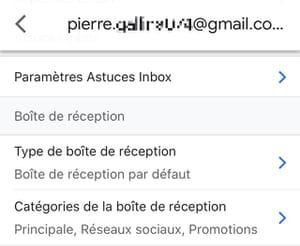
- Then choose the type of inbox that suits you: Default, Important first, Unread first, Followed first or Priority.
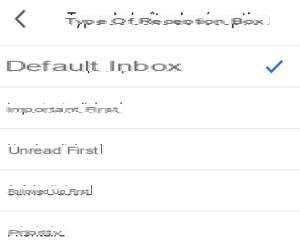
The Multiple inboxes option is not available in the mobile app, and you will not be able to set the Priority Inbox option. Again, changes made in the mobile application will be reflected in the desktop version.
Add a reading pane in Gmail on computer
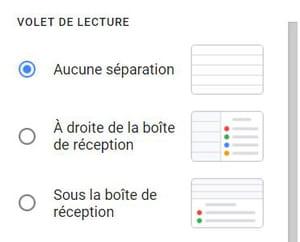
By default, Gmail does not have a reading pane for messages: you must click on the title of a message to view its content. You can, however, choose to display a reading pane on the right or below the inbox.
- Click on the icon Settings, at the top right of the window.
- In the Reading pane part of the Quick Setup panel, select the option you want: no separation, reading pane to the right of the inbox, or reading pane below the inbox.
- You can change the size of the reading pane. To do this, place your cursor on the dividing line and when it takes on the appearance of a vertical line with arrows on each side, right click and hold down while dragging it.
Turn off conversational view in Gmail on desktop
By default, and like other messaging services, Gmail groups together all the exchanges with the same object in the form of "conversations", by combining the sending and the replies. This format is supposed to be easier to read, but if you find it confusing, you can perfectly turn it off to revert to a classic presentation with separate messages.
- Click on the shortcut of Parameters in the upper right corner of the window.
- Scroll down the Quick Setup side panel to the bottom.
- In the Discussion threads section, uncheck the box Mode Conversation.
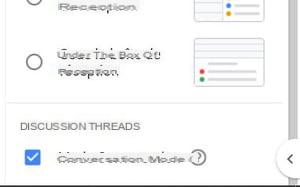
- In the warning window, click actualize.
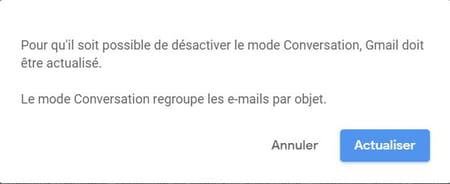
- To return to a display by conversation, you will have to check the box again. Mode Conversation. Note that, again, the change made on the web version is reflected in the mobile application.
Turn off conversation view in the Gmail app
In the Gmail mobile app, it is also possible to turn off Conversation mode to display separate messages.
- Press them three sidebars of the options menu in the upper left corner of the screen.
- In the menu, go to the section Parameters.
- Then press your Gmail account.
- On the Settings page, go to the bottom of the General part and uncheck the switch in the line Mode Conversation.
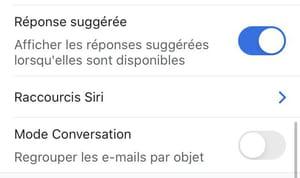
If you want to return to the display by conversation, you will have to redo the operation and check the switch. Again, the change will be reflected in the desktop version.
Hide Hangouts and Meet in Gmail on desktop
If you don't use chat services Hangouts et Meet, present by default in the interface of the Web version of Gmail, it is possible to no longer display them.
- Click on the gear Settings at the top right of the window.
- Click on Show all settings in the quick configuration panel.
- On the Settings page, click the tab Discussions and videoconferences.
- To no longer display Hangouts, Check the box Disable Hangouts in the Chat section.
- To no longer display Meet, Check the box Hide the "Video conferencing" section in the main menu in the Meet section.
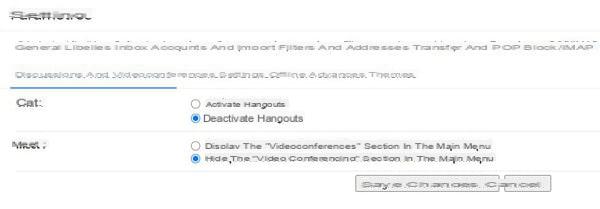
- Click finally on Save Changes. The services will no longer be displayed.
Hide Meet in the Gmail mobile app
Since the end of spring 2021, Google has integrated Meet into the Mobile application. If you don't use this service or just don't want it to appear in your Gmail app, you can hide the Meet icon displayed at the bottom of the app.
- Tap three menu sidebars at the top left of the screen.
- Open the section Settings.
- Then press the address of your account.
- In the General part, uncheck the switch on the Meeting line: Display the Meet tab for video calls.
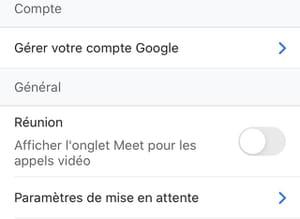
Use Keep, Tasks, Calendar, and other services in Gmail on desktop
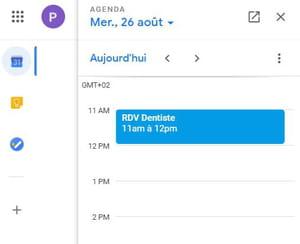
In the desktop version of Gmail, a side panel to the right of the window displays information from other applications. By default, Gmail integrates Google Calendar, Google Keep (Google's post-it note-taking tool) and Google Tasks (to list things to do). But it is also possible to add third party applications like Slack, Trello or the videoconferencing tool Zoom.
- If the side toolbar is hidden, first click the arrow in the lower right corner of the window.
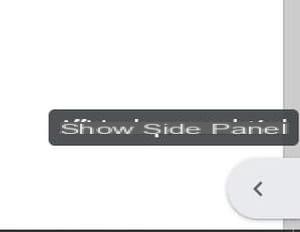
- Then click on theservice icon in the sidebar to expand the panel. You can then switch from one tool to another.
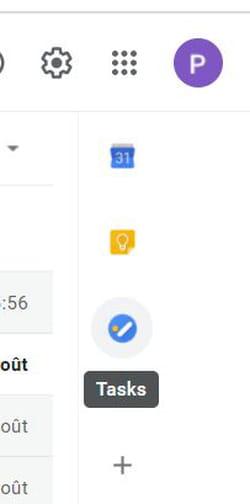
- To close the side panel, click on the closing cross in the upper right corner of the panel.
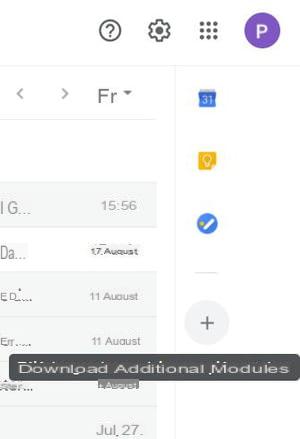
- To add a third-party service, click on theicon + (captioned Download Add-ons) in the side toolbar.
- The G Suite Marketplace app store is displayed in an overlay window. Scroll through the catalog and click the application to add.
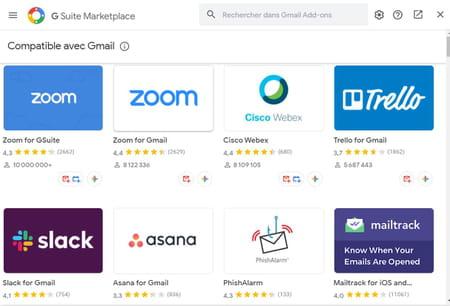
- On the application presentation page, click on the button Installer then follow the installation steps.
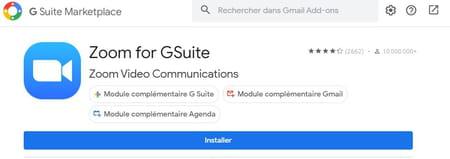
- The service is then added to Gmail and its icon appears in the side toolbar. You can access it the same way you access other Google services.
Use advanced search and search operators in Gmail
The Web version of Gmail has an advanced search tool - called "advanced" - which allows searches to be filtered by means of keywords and various operators.
- To access the advanced search tool, click on the right arrow of the search field, at the very top of the window.

- Enter the search terms in the From, To, Subject, Contains words or Does not contain words fields.
- Optionally, indicate the filters to apply in the Size, Date range, etc. fields.
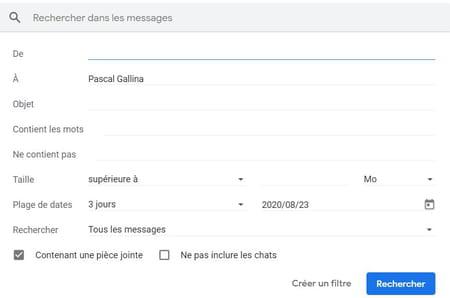
- Once the parameters have been entered, click on Search.
- As you can see, the search box then displays multiple operators.

Advanced search is a simple graphical interface bringing together certain operators. You can do without the graphical interface by directly using operators in the search field. Here are some basic functions.
- Find a sender: from: SenderName
- Find a recipient: to: RecipientName
- Search for one or more words in the subject of a message: subject: motàchercher
- Check unread messages: is: unread
- Finds important messages and followed messages: is: important and is: starred
- Search for messages with an attachment: has: attachment
- Find messages assigned to a label: is: LabelName
You can of course use several operators at the same time in the search field. For example in: Personal from: will show me your own messages associated with the Personal label. There are many other search operators, check them out on the Google help site.
There is no advanced search system in the Gmail mobile app. However, you can use the search operators in the search box at the top of the app.
Create and use message templates in Gmail on desktop
If you regularly need to send similar messages using Gmail, you may want to use templates that you can integrate with just a few clicks. Please note that this function is only available in the Web version (for computers) of Gmail. It is not possible to create or use message templates in the mobile app.
- First you need to enable message templates in Gmail. To do this, click on the icon of Parameters.
- Then click Show all settings in the quick configuration panel.
- Open the tab advanced settings on the Settings page.
- In the Models line, check the option Activate.

- Then click on the button Save Changes at the bottom of the page.

- Then create a new message and enter the template text.
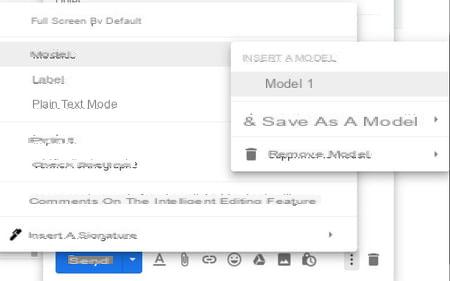
- Once the model is ready, click on theicon with three points at the bottom right, just to the left of the trash can icon.
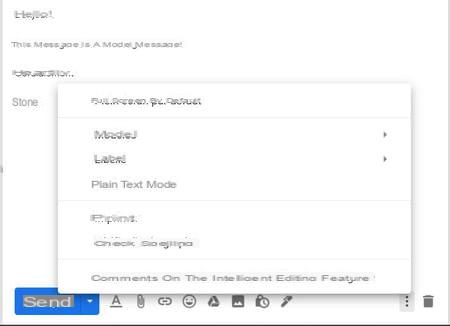
- In the contextual menu, go to the Models> Save as Model section then click on Save new model.
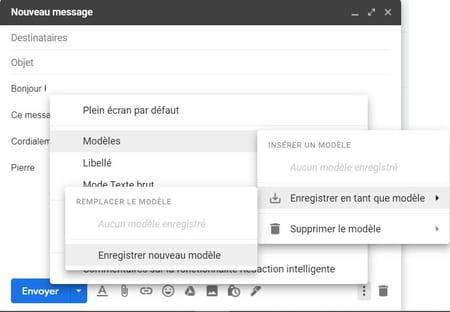
- Give the model a name in the widget and click on Save.
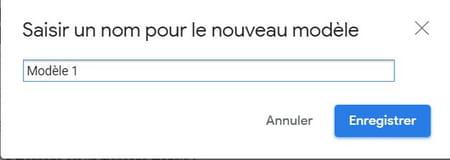
- You can delete the created model, modify it or create new models from the same menu. You can register up to 50 different models.
- To use a message template, click theicon with three points in the window for writing a new message or a response.
- In the contextual menu, go to the section Model then choose the template to use.
Use smart writing in Gmail on desktop
Gmail has a built-in predictive typing - or smart writing - feature called Smart Compose. Using artificial intelligence, it displays word suggestions that match what you type as you write. Sun use is optional and you can turn it on or off according to your preferences.
- Click on thegear icon in the upper right corner to access Gmail settings.
- Click on Show all settings in the Quick Setup panel.
- In the General tab, go to the Smart Writing line and check the box Text suggestions enabled.
- If you want smart writing to suit your writing style, check the box Activate personalization à la ligne Customization of smart writing.
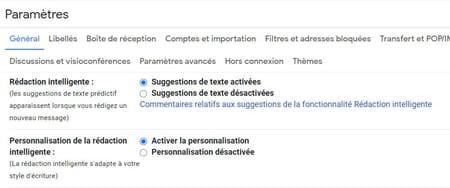
- Once the boxes are checked, navigate to the bottom of the page and click on the button Save Changes.
- While composing a message, when a suggestion is displayed, press the Tab key or the right arrow key on the keyboard to accept it and go directly to the next word.
Use smart writing in the Gmail mobile app
The smart writing tool is only available in the Android version of the Gmail mobile app. Here's how to activate it.
- In Gmail, tap the three menu sidebars at the top left of the screen.
- In the menu, press the item Settings.
- Then select your account.
- Check the option Smart writing to turn it on, or uncheck it to turn it off.
Add emojis to a message in Gmail on desktop
You probably already know how to add emojis to a Gmail message in the mobile app. But you can also do it in the desktop version, regardless of the platform used.
- In the message composing window, click on thesmiley icon in the toolbar.

- A pop-up search menu with emojis appears.
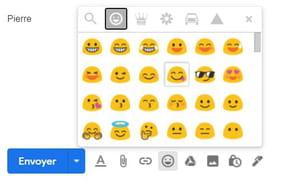
- Simply click on an emoji to insert it into your message.
- Click the smiley icon again to close the context menu.
Put a message on hold with Gmail on computer
If you want to read a received message later, you can put it on hold. It will then disappear from the main inbox and appear again at the time of your choice.
- In the list of inbox messages, identify the message you want to put on hold.
- Hover the mouse cursor over the title of the email and click on theclock icon quite right.
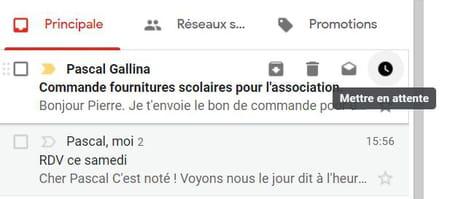
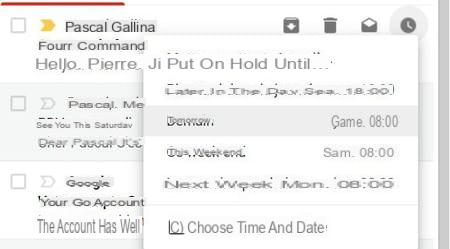
- From the pop-up menu, select until what time and on what date the message will be put on hold.
- You can find the messages on hold in the On hold section accessible from the side menu.
Put a message on hold with the Gmail mobile app
You can also put a message on hold in the Gmail mobile app, but the procedure is a little different.
- In the app, open the message you want to put on hold.
- Press theicon with three points in the upper right corner of the screen.
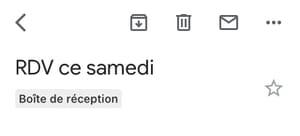
- Press Put on hold in the context menu.
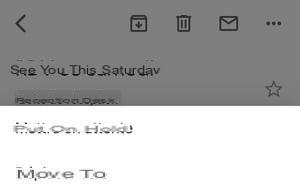
- Select the period for which the message will be put on hold.
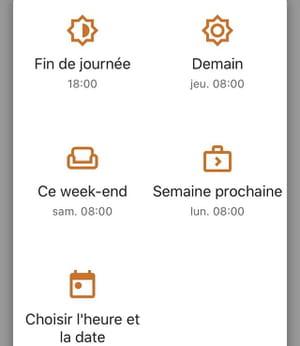
The message will be removed from the inbox and reappear at the specified time. The messages on hold remain accessible from the On Hold section of the main menu of the application.
Cancel sending a message in Gmail on computer
If you clicked the button by mistake Send when composing a message, you have a few seconds to cancel the sending.
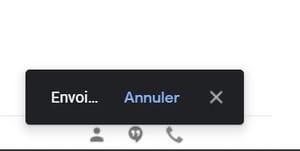
- After sending the message, a black frame informing of the sending status appears in the lower right corner of the interface window. Quickly click on the link Cancel to cancel sending. The message will then be displayed as a draft.
It is also possible to choose the time limit for recalling a message.
- Click on the Settings shortcut in the upper right corner.
- Click on Show all settings in the Quick Setup panel.
- Scroll down the General tab to the line Cancel sending.
- Choose the cancellation period using the drop-down menu: 5, 10, 20 or 30 seconds.

- Go to the bottom of the page and click on the button Save Changes.
Cancel sending an email in the Gmail mobile application
It is also possible to cancel the sending of a message in the Gmail mobile application.
- When sending the message, a black frame appears at the bottom of the screen. Quickly press Cancel. The message will be displayed again as a draft.
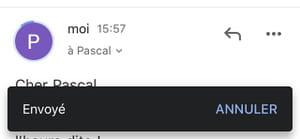
However, you only have five seconds to cancel the sending, and unlike the desktop version, you cannot change this time.
Send a large attachment in Gmail using Google Drive
Gmail normally allows a maximum size of 25MB for sending attachments. There is a way around this limitation, however, if you send a file using Google Drive, Google's cloud service.
- In the message composing window, click on the shortcut Insert files with Drive in the toolbar.

- The Insert files with Google Drive window is superimposed. Then open the tab Import then click on the button Select files on your device.
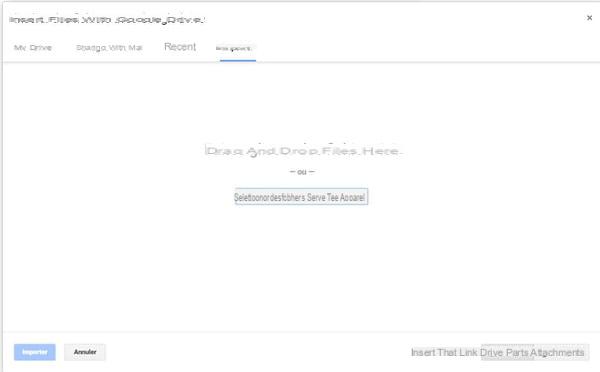
- Once the file (s) have been selected, click on the button Import at the bottom of the page.
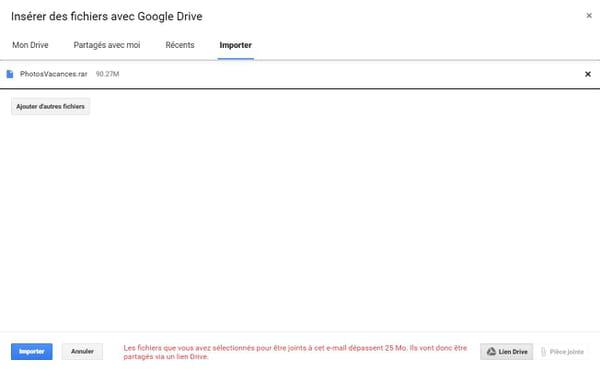
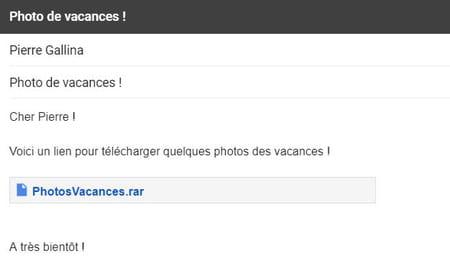
- At the end of the import, the file is integrated into the email and made available on Google Drive via a link. You can then send the message.
In the mobile application, you can send a file present on Drive by clicking on the icon to attach an attachment, but you can only share a file already present on Drive.
Block senders in Gmail on desktop
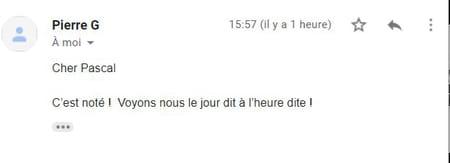
If you receive unwanted messages, you can very easily block the senders. Messages from a blocked sender will immediately be classified as spam and no longer appear in your main inbox.
- Open a message from the sender to block.
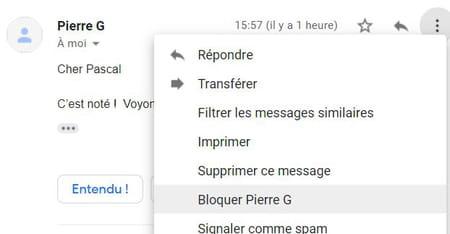
- At the top right of the message window, to the right of the Reply shortcut, click theicon with the three dots.
- In the context menu, click Block [Sender's name].
- If the message appears to be spam or a phishing attempt, you can click the corresponding option, which will also block the sender and report it to Gmail.
Block senders in the Gmail mobile app
As in the web version, you can block senders of unwanted messages in the Gmail mobile application.
- Open a message from the sender you want to block.
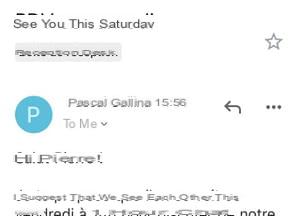
- Press theicon with three points located on the far right of the sender's name, to the right of the reply icon.
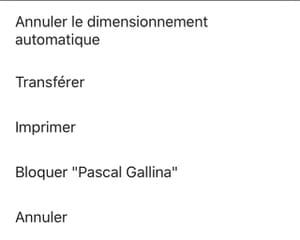
- Press Block [Sender's name] in the context menu.
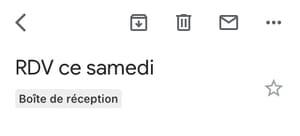
- However, if you want to report a message as spam, the procedure is different: press theicon with three dots in the upper right corner of the screen.
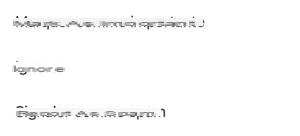
- In the contextual menu, press Report as spam.
Unsubscribe from a newsletter with Gmail on computer
Gmail offers the ability to unsubscribe with one click from a newsletter to which you have subscribed.
- Open the newsletter in your inbox.
- Under the subject of the email, just to the right of the sender's identifier, click on the gray link Unsubscribe.

- Click again Unsubscribe in the superimposed information mini-window.
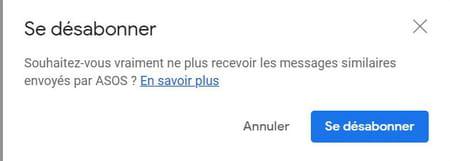
- You may be redirected to a confirmation page depending on the service.
Unsubscribe from a newsletter with the Gmail mobile application
The Gmail mobile application also makes it easy to unsubscribe from a newsletter.
- In the app, open the newsletter you want to unsubscribe from.
- Press theicon with three points in the upper right corner of the screen.
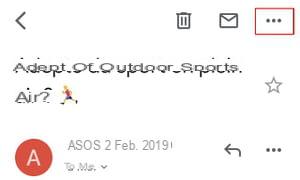
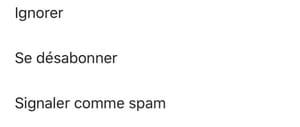
- Then press Unsubscribe in the context menu.
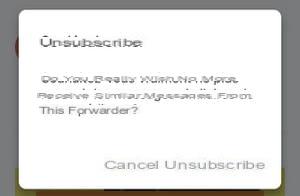
- Press again Unsubscribe in the superimposed mini-window.
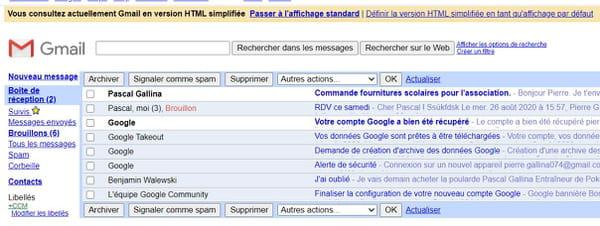
Use the simplified version of Gmail in case of bad connection
If your internet connection is bad, you can use the so-called simplified HTML version of Gmail. Based on the very first version of the service, this lite version loads quickly even with a finicky connection. If all the functions of the standard version are not available, and if the graphics will take you right back to the 2000s, you won't be too confused, however.
- To access the simplified version of Gmail, click on the link Load simplified HTML display which appears at the bottom right of the window when loading the interface.

- Once on the simplified HTML version, click on link Switch to standard view at the top of the window to return to normal. You can also choose to use the default simplified HTML view.
Access Gmail offline on desktop
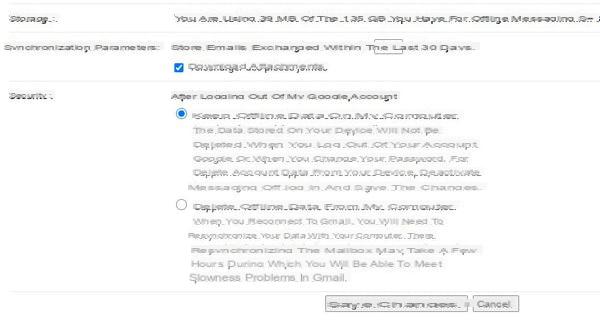
If you want to be able to view your recent messages even when you're not connected to the Internet, you can turn Gmail offline. Unfortunately, this option only works with the Google Chrome browser.
- Click the icone gear Parameters at the top right of the interface.
- In the Quick Setup side panel, click Show all settings.
- Open the tab Offline on the Settings page.
- First check the box Enable offline messaging.

- Other options appear after the box is checked. Configure options Synchronization settings et Safety then click on the button Save Changes.
Disconnect a remote session in Gmail on computer
If you left your Gmail session open on another device, you can log out remotely from another computer.
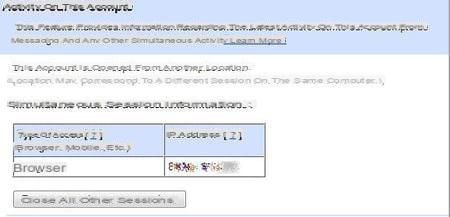
- In the Gmail interface, click on the link Details located at the bottom right of the window.

- The Activity window for this account appears. It lists all the connections to your Gmail account.
- In the window, click on the button Close all other sessions to close all open sessions.
Be notified of new messages received for Gmail on computer
Unlike the mobile app, you normally don't receive notifications on your computer when you receive a new message. However, there are several ways to be informed of the arrival of emails.
Receive notifications of new messages on the desktop
- Click on theSettings gear icon at the top right of the interface.
- Click on Show all settings in the Quick Setup panel.
- On the General tab, navigate to the Computer Notifications row.

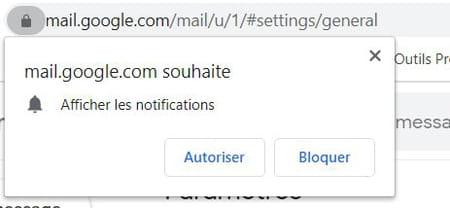
- Press the link Click here to enable display of desktop notifications for Gmail.
- In the mini-window appearing at the top of the page, click on To allow.
- Go back to the Computer notifications line and check the box New message notifications enabled.
- Finally, go to the bottom of the page and click on the button Save Changes.
Show the number of unread messages in the browser Gmail tab icon
This solution works for most recent browsers like Chrome, Firefox or Microsoft Edge
- Go to the page Parameters as described above and open the Advanced Settings tab.
- In the Unread message icon line at the bottom of the page, check the option Enable.

- Finally click on the button Save Changes.
Use the Google Message Checker extension
If you are using Chrome or a Chromium-based browser, like Edge, you can use the free Google Message Checker extension developed by Google.
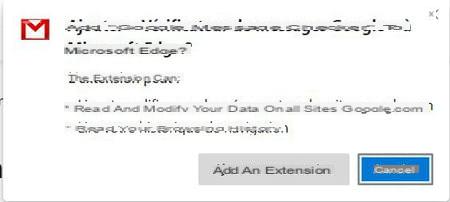
- Open the extension's page in the Google app store and click the add or install button.

- Confirm the addition of the extension in the mini-window, and validate any additional permissions that may be requested by your browser.
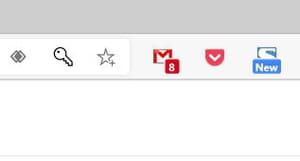
- Once the extension is installed, the number of unread messages will be displayed directly on its icon.
Use Gmail keyboard shortcuts on computer
Like many services and computer version applications have keyboard shortcuts to perform various operations without using the mouse. But, oddly, they are not necessarily enabled by default.
- To activate Gmail's keyboard shortcuts, first click on the Parameters at the top right of the interface.
- Then click Show all settings in the quick setup bar.
- In the General tab of the Settings page, scroll to the Keyboard shortcuts row and check the option Activate keyboard shortcuts.
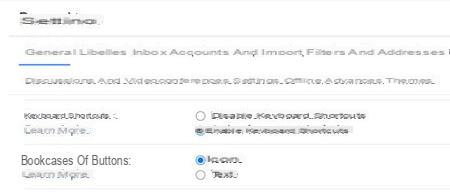
- Go to the bottom of the page and click on the button Save Changes.
Here is a selection of handy shortcuts.
- C : write a new message (Shift + C to open a new compose window)
- O ou Starter : open a conversation
- K : go to the next conversation (N to go to the next message in the conversation)
- J : go to the previous conversation (P to go to the previous message in the conversation)
- U : return to the inbox and refresh the page
- R : reply to the displayed message
- A : reply to all of the displayed message
- F : forward the displayed message
- E : archive the displayed message
- # : delete the displayed message
- Ctrl + S : save the draft of the message being written
- Tab and Starter : send the message being written
- Y and O : archive an open conversation then move on to the next one
- G and A : open the All messages folder
- / : go directly to the search field
You can find all the keyboard shortcuts on the Google help site.
Summary Change display density on computer Change display density on mobile Add a visual theme to Gmail on computer Change the type of inbox on computer Change the type of inbox ...


