Taking pictures in RAW format means they will come saved on your device without any compression or automatic processing. This way, the next edition of it will be handled more easily.
JPG images on the other hand remove all extra data so that they weigh as little as possible. With RAW we will take “raw” photographs.

How to take a RAW photo on Android with Camera FV-5 in just a few steps
Almost all mobile devices Android Lollipop 5.0 o versioni successive have the RAW function built into the camera. To take RAW photos, your device must be Compatible with Mobile API 2.
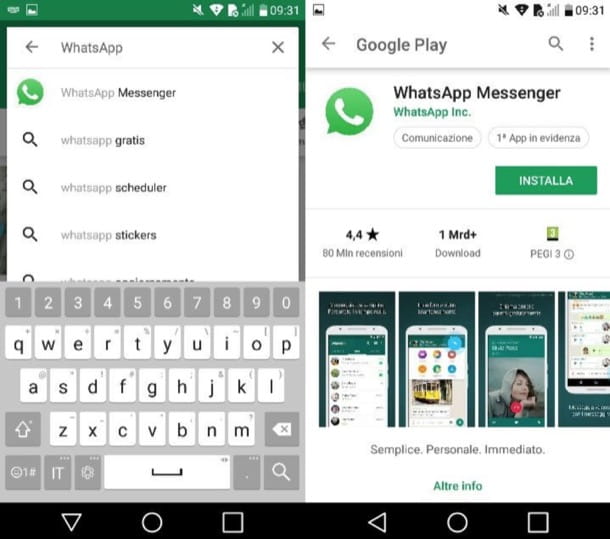
In case you don't have it, you can download the Camera FV-5 Lite app from the latest version of the Google Play Store.
Once installed, open the app and enter its settings. You can find it in the upper right corner of the screen. A drop-down menu with five tabs will open.
We will position ourselves on the third, Encoding settings of photo . It is represented by a photography icon. From there we will check the section Enable RAW capture.
If you pay attention now to the section File format changes to DNG, corresponding to RAW photographs.
Ready, you already have your device set up to take high quality photos without any restrictions. It should be noted that these types of images take up much more space than JPG or PNG images, so it is recommended that you use an SD card to save them without taking up storage space on your device. Another alternative is to free up internal storage so that you can save these high quality photos on your mobile.
You can adjust ISO, shutter speed, white balance, exposure and access other tools of a professional camera.
It is not recommended to take a photograph in RAW format if you want to upload a high-quality photograph to Facebook or another social network. You can use PNG or JPG formats which will keep good quality in your images and most importantly they will weigh much less.
To give you an idea, a RAW photograph weighs around 16MB, while a JPG photograph weighs around 4MB. Another important fact is that you will not be able to see your images in the photo gallery, as its weight is not supported by the image gallery.
There is another application with which you can take RAW photos. We are talking about Open Camera. It is a free application that is continuously improved by supporting Android technologies. With it you can take pictures in manual mode and save them in RAW format later.

How to edit a RAW photo from your Android with Adobe Photoshop Lightroom
To be able to edit a RAW photograph from your Android you need to download the application Adobe Photoshop Lightroom. You can do this from the official Play Store.
With it, you can open RAW photos on your Android to view and edit them. The application is very easy to use, so you don't need to be an editing expert.
You can change things like:
- Intake temperature
- Red
- The exhibition
- The contrast
- The lights and shadows
- Saturation and intensity of it
- The black and white level
Take a few minutes to explore and see all the functions this application has, as we said before, it is a very intuitive application.
If you have any questions about how to take RAW photos on any android mobile, you can leave us your comment so that we can help you.









![[Review] Osmo mobile, DJI's smartphone stabilizer](/images/posts/ee8d30fe53d2d51dc86eb4e3eadeb5a9-0.jpg)
