Next, we will see how to show battery percentage in Windows 10 taskbar in quite simple way and above all, fast enough, it will be enough to install a simple app to get it.
The battery of our laptop is essential, after all without it the meaning of the laptop is lost. The idea is that we can take it from one place to another without depending on being connected to electricity.
But for this it is important know the percentage of the battery at all times, the problem is that to know it we have to click on that icon located at the bottom right of the taskbar.
This may not be something to annoy if you are not so interested in knowing that percentage or knowing, for example, how much battery a Bluetooth accessory has on iPhone iOS.
However, the battery percentage can be displayed on the same taskbar without having to press to see it. You can also make the taskbar icons larger and, if needed, you can add a zoom button.
The way to do this is actually quite simple and shouldn't take more than a few minutes, since we'll just download one application and it will take care of everything.
You don't even need to configuration nothing and this app consumes very few resources, practically you will not notice that you have it running on your computer, which is quite positive.
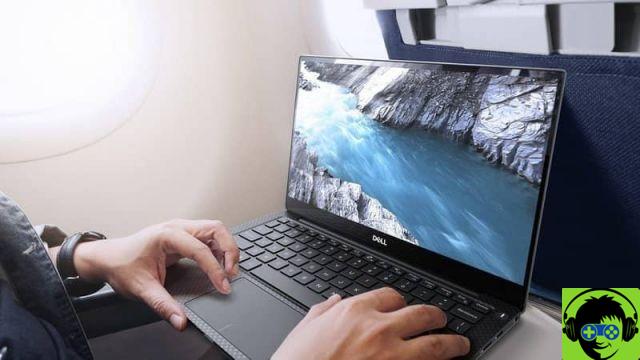
How to see the battery percentage in the Windows 10 taskbar
To achieve this we will have to use a third party application, as Windows does not have this option natively. Among the applications we recommend, the first that comes to mind is BaterryBar. However, you can also find others like Percentage or BaerryPercentage.
Applications by simply installing them will already show the exact battery percentage located in the lower right area of the screen in the taskbar. With BaterryBar we can see a battery icon with the exact percentage of it.
In this way we can see the current battery percentage of our laptop without having to click on the icon or something similar. It is very practical and above all fast.
In case your problem is that you don't see the battery icon which comes by default in Windows. So we will see another tutorial to add the battery icon to the taskbar in Windows 10 and to be able to solve this problem in a simple way a little further down.
How to show the battery icon in Windows 10
- The first thing we will do is go to " Device management »Where we can view all the hardware of our computer. For this, what we have to do is simply press «Start» and then type " Device management «.
- In this section we will have to search " battery »And press on it. You should be able to see a battery adapter, it needs to be plugged in for it to appear.
- Then you will need to right-click on » Battery with Microsoft ACPI compatible control method »To access the options.
- If you prefer, you can click on this option and then go to the top menu, click on » Actions "And then on" disable ". This way our device will stop recognizing the battery as connected, but it will continue to work.
- Now what we need to do is the same as just, only instead of turning it off, what we will do is turn it back on and the our laptop will recognize it again. This way we can see the battery icon on the taskbar, where it always was.
In some cases it may happen that it is solved simply by updating the drivers or Windows itself.


