Often the need arises to share resources and devices. For this it is necessary to activate the visibility in the network. However, this is not recommended when the network is not secure. If you asked yourself how to make my Windows 10 PC visible or invisible on a local network? , then this article is for you.
How to make my Windows 10 PC visible or invisible on a local network?
One of the most important features of local networks is the ability to share different resources and devices between computers connected to the same network. In this sense, Windows offers the alternative of turn computer visibility on and off a depending on the type of network. You can also choose to change the name of your PC's local network according to your preferences.
Next, we explain everything you need to know about setting up your Windows 10 local network and the steps to make your PC visible or invisible based on connection established both Ethernet and WiFi.

Procedure to make my Windows 10 PC visible on a local network via Ethernet cable
When a computer is first connected to a network, Windows 10 asks if the connection is part of a trusted network and if the user wants their PC to be visible to share files and resources with other computers on the network. Net.
It's convenient identify the network and the security of the connection before proceeding to activate or deactivate the visibility of any PC. In home or work networks it is useful to make the PC visible, but in a public network it is better to hide the equipment to ensure its safety. Reason why, it is recommended to change public network to private in Windows.
Access the Windows 10 settings
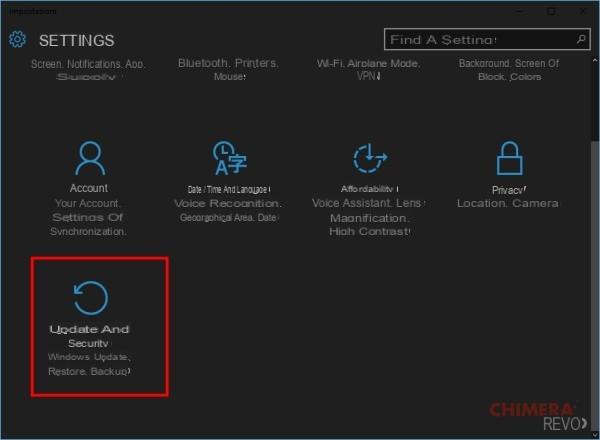
To access the Windows 10 settings menu you need to log in to menu start and locate the cogwheel icon next to "Settings". This will take you to the menu which contains nine different sections. Click on «Internet and Network».
Find your local network
It is important to know what a local network is and how it works. Once this point has been clarified, you need to enter the "Internet and Network" section and look for the "Ethernet" option located on the left side of the window. "Ethernet" will allow you to view all active cable connections on your computer.
Next, you need to select the local network connection. Click on it so you can see its configuration options.
Configure your local network
In the local network configuration window, activate the option: “Make this computer detectable " in so that other devices can detect your computer. The operating system recommends this option only if you have a home or office network.
Procedure to make my Windows 10 PC visible on the local network via Wifi
If your local network is connected via Wi - Be, you have to go to the start menu, locate "Settings" and open the section "Internet and networks". There, you have to choose «Wi-Fi» to view all network connections of this type.
Configure the Wi-Fi network
From the configuration window, click on your available Wi-Fi network and activate the option "Make it detectable this device ".
Hide my Windows 10 PC on a local network
To hide your Windows 10 PC, we recommend using the TuneUp Utilities (AVG TuneUP) tool. In fact, this is one of the best free CCleaner alternatives to clean your PC. If you don't have this application, you can download it from its official website and install it on your PC.
Use the TuneUp Utilities tool
Enter the TuneUp program and locate the TuneUp System Control module. In the category "Communication" select "Network". In the right part of the window you will see a series of tabs from which you have to choose «Network environment».
THE "Network environment" has two sections. From «Security», select the option «Hide this PC in a network environment from other connected PCs».


