Windows has several elements for customization according to the user's needs. For example, the screen saver is a property that allows you to view images when the computer is suspended or hibernated. If you ask yourself how to put and configure my photos in windows 10 screensaver? This article is for you.
I note that the following tutorial is for the screen saver, you can also change the Windows wallpaper using Regedit or the conventional way. Without further ado let us continue.
How to insert and set my photos in Windows 10 screensaver?
Previously, the screen saver allowed to preserve the quality of the graphical interface of the system. Over the years and after the technological evolution of monitors, the screen protector was no longer essential. However, Windows continues to add it in its versions such as optional property.
Next, we explain what a screen saver consists of and how to configure the screen saver in Windows 10.
What is the Windows Screen Saver?
The screen saver was created as software costs. to maintain image quality on CRT monitors that cannot be turned off via the operating system. It is also used to save energy when the equipment is not in use.
Today's modern monitors do not require this type of protection to ensure the quality of the device. However, the Windows 10 operating system has this tool so that the user can observe different images when the computer is locked.
What is the Windows screen saver for?
The Windows screen saver is used for customize the system desktop with one or more user-selectable images. Also, this property is configured to save power when the computer is temporarily inactive.
On the other hand, keep in mind that you can extend the customization by changing the PC desktop theme and wallpaper as well, but the screen saver serves another purpose.
Where is the Windows 10 screen saver configured?
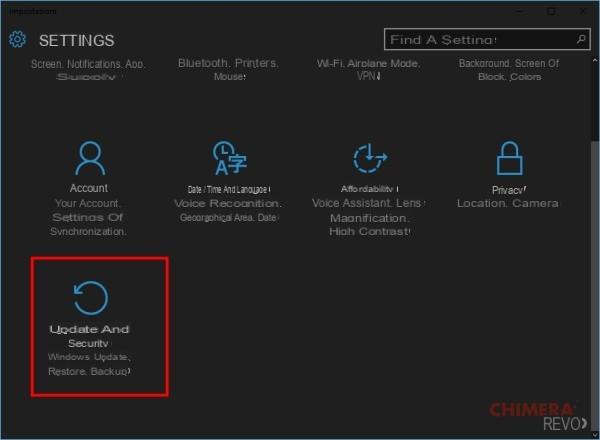
To configure the Windows 10 screen saver, you need to go to the system desktop and press the right mouse button. There you will find a number of options from which you will select "Customize".
The system settings panel will then open. You have to choose the section "Screen lock" located on the left side of the panel. In this way, you can enter the screensaver settings in Windows 10.

Steps to insert and place photos in the Windows 10 screensaver
Once you go into the screensaver settings, you will see the "None" option. This means that no screensaver is activated. Windows 10 offers six options for you to choose from "Photo".
Immediately, you will be able to see the items available in the Pictures directory that your computer saves. This feature will allow you to select photos from the folder "Images" to customize the screensaver.
Customizing the screensaver
At the bottom of the interface, you will find the time interval you should wait for the screen saver to activate. Then you can choose the option "preview" to see your new protector. Press the «Settings» button.
Next, you will see the source of the images to define their execution speed. It's time to add the photos. To do this, click on the «Browse» button and select the folder that contains the images. Then, click on «OK» and finally on the button "Save".
An additional option
You can set your photos to look so random by checking the "Show images in random order" box just before clicking the button "Save". As a result, you will be able to view a more dynamic screensaver.
Without a doubt, screen protectors are an extra option with which we can customize our computers in a very simple and efficient way.
Although the previous tutorial is designed specifically for Windows, we also have a similar option when you put the clock on the iPhone or Android lock screen, fulfilling the screen saver function.


