What is Update Error 0x800F0982 in Windows 10?
Error 0x800F0982 is a update error in Windows 10 when it requests the update of the operating system and its integrated packages. Basically it's not a serious problem, but it's boring if you want to keep your computer up to date and your goal isn't met. That said, we encourage you to pay close attention to the following error solutions in Windows Update in an easy way .
How to fix Windows Update error 0x800f0982 in Windows 10?
Before showing you the advanced options that can help you, try using the built-in "Troubleshooting" system. Since this aims at resolve code errors when updates are made, but let's go to advanced options.
Run the Windows Update Troubleshooter
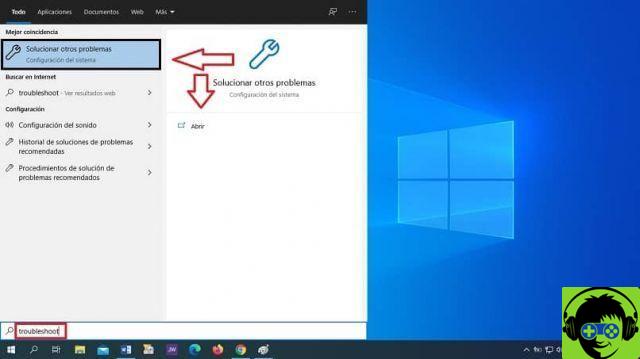
- Press the search magnifying glass at the bottom left.
- Type the following "troubleshoot" command a window will open immediately.
- Several configuration options will appear, you will select «Fix other problems».
- Next you will click on Windows Update.
- Then you will select the option "Run the troubleshooter."
- A window will instantly open saying «Problem detection» you have to wait a few minutes until the system detects the error.
- This will indicate the solution performed.
Start the Windows module installation service
Windows Modules Installer must be active, because this causes users they can update the platform, as it performs system maintenance. If the error 0x800f0982 occurs, it is because it is not activated, because below we explain how to do it.
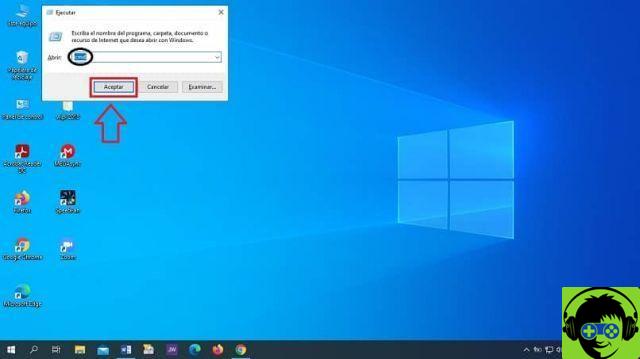
- On your keyboard, press the Windows key + R, this will take you to a window called "Run".
- In the text box that appears, use the command prompt cmd and press "OK".
- Further on in the black background window, you will enter the following command «config trustedinstaller start = auto» and press «Enter».
- After performing the previous step, restart your computer, desktop or laptop, and Windows Modules Installer will be activated.
Delete the software distribution folder
The Software Distribution folder may have corrupted update drives, deleting them will update all missing components. Next, we show you how to apply Software Distribution folder removal from Windows OS with few simple steps.
- On the keyboard, press the Windows + R keys at the same time, you will immediately get a window called "Run".
- In the text box type the following command «cmd» and press «accept».
- It will show you a box or window with a black background in which you have to type the following command «net stop wuauserv» and press «Enter or Enter».
- In the prompt window type this command "net stop bit" and press "Enter".
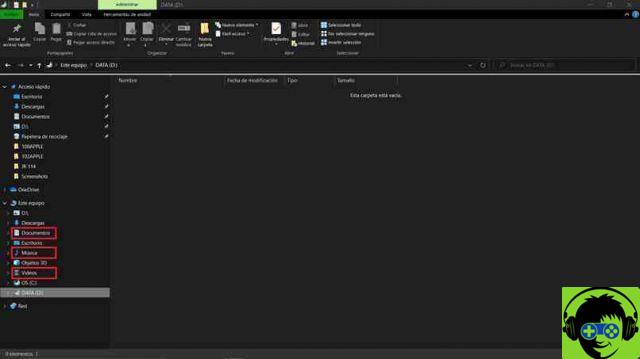
- Now on the keyboard simultaneously press the Windows + E keys, this will immediately take you to "File Explorer".
- Then open the folder path C:> Windows> Software Distribution in "File Explorer".
- To fully select the Software Distribution folder, press Ctrl + A.
- Then click the button "Remove from File Explorer".
- The «Run» window will open again by pressing the Windows + R keys at the same time.
- As you will notice, there you will find the word «cmd» press «OK» and wait for the window to open with a black background.
- In the window you will type the following command «net start wuauserv» and press Enter.
- Then write this command «net start bits» nell’input and press "Enter".
- Restart Windows and voila, the error will be resolved.
As a last tip, try updating Windows Update to the latest version to enjoy and make the most of all its features. We trust this article to help you solve your update error problem in Windows 10 by following all the steps that have been provided to you.


