 Photoshop
You have an image that is not the right size or you want it crop to keep only a part? This is possible with Photoshop.
This is what we will see in this tutorial by teaching you how to use theCrop tool.
Definition: The crop tool allows you to remove parts of an image to create a focal point or improve its composition. Use this tool to crop and straighten photos in Photoshop.
You can find all these explanations in video as well.
How to crop an image in Photoshop?
1. Open the image you want to work on.
File> Open
For more details see this tutorial.
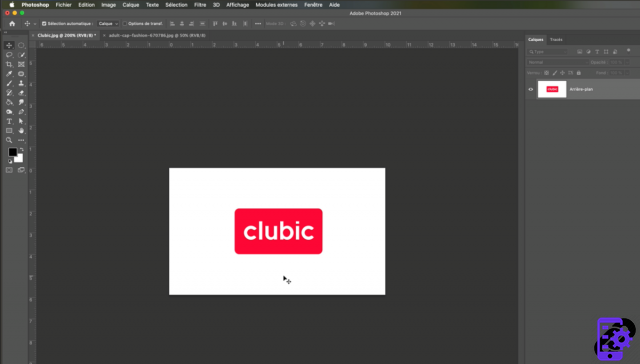 Open a document
2. Go to the toolbar (on the left) and select thecropping tool.
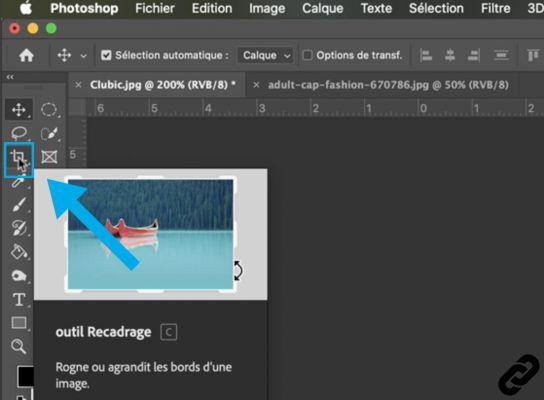 Select crop tool
3. Once thecropping tool selected "handles" appear around the photo.
Move your mouse cursor to vary the dimensions.
You can change the dimensions in width and height. If you stand in one of the corners it will modify the two variables simultaneously.
 Crop handles
4. The part that will be "deleted" is grayed out.
 Deleted part
5. You can change the cropped area by moving your mouse inside the grid.
Click and drag to move the image in this area and thus better define it.
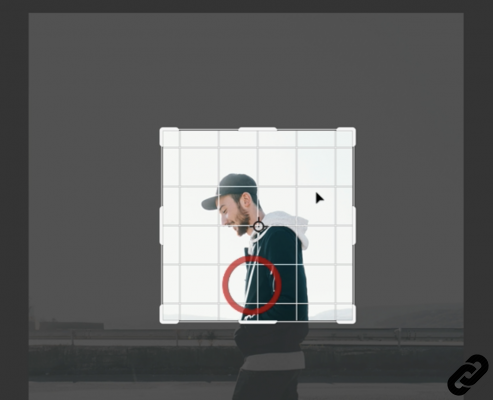 Move the area to crop
6. When your reframing suits you:
Click on "enter" to validate or on the tick at the top right
If you want to undo your cropping:
Click on the "cancel" symbol
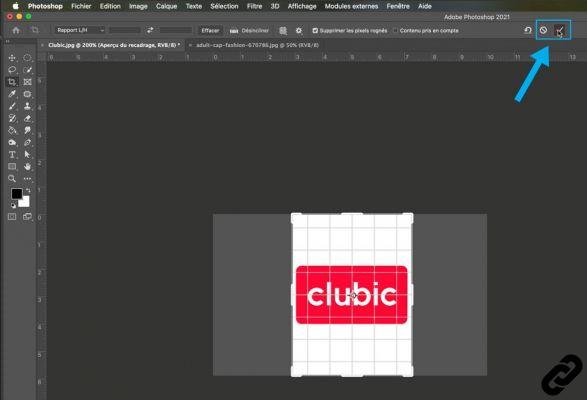 Validation
How to improve its reframing?
7. Once the tool is selected you have options that appear at the top of the window allowing you to adjust your crop according to different parameters.
1. Size menu
2. Width
3. Height
 Crop option
8. Click on the format menu (Aspect Ratio) to bring up the options.
You can choose the Width x Height ratio that suits you.
You can also enter your report manually in cases 2 and 3 previously seen.
When your parameters are defined click on "Enter" to validate
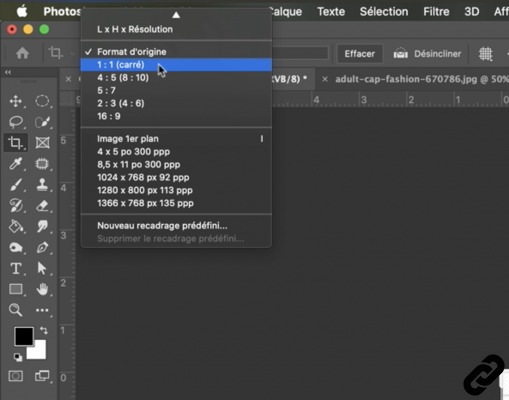 Format menu option
Photoshop you are passionate about and you want Learn More?
Come and discover the complete Photoshop Initiation training.
More than 10 hours of videos, creations and practice.
-20% for all Expertsconnecting readers.


