Need to send large files of several hundred megabytes to one of your contacts? The WeTransfer online service takes care of this simply, quickly and free of charge.
Launched in 2009, WeTransfer remains undoubtedly one of the most popular services for sending or sharing large files over the Internet. If it is not the only one of its kind - let us quote WeSendIt, SwissTransfer, pCloud, GrosFichiers, FileMail, Send Anywhere, from Framadrop or even the excellent Smash which has the advantage of being 100% French -, WeTransfer owes its reputation for its ease of use and free.
In fact, without even needing to register, it is already possible to send all types of files (photos, videos, music, PowerPoint presentations or office documents of all kinds) up to a maximum of 2 GB. Much more than what your email can allow you, the size of attachments in emails is limited (often 10MB, sometimes 20MB or more). The files that you share in this way are recoverable by your recipients for seven days. Completely free, the service is adorned with a simple interface to understand and continues to flatter the retina by reserving most of its home page for the display of works by contemporary artists. And if you want more, just sign up, always for free. The volume of files that you can send is then multiplied by ten to reach 20 GB. Note also that the service also offers a paid formula, now called WeTransfer Pro, which offers more space and functions. But for classic use, the free formula is more than enough!

How to send files for free with WeTransfer ?
No need to compress your files to send them to one or more recipients. With WeTransfer, you benefit, without registration, from an envelope of 2 GB of data. This allows you to send multiple files at once or send a single file up to 2 GB in size.
- Open your usual web browser (Chrome, Firefox, Safari, Edge, etc.) and go to the WeTransfer site. Click the blue button I agree to be able to use the service.

- Then accept the use of cookies. If afterwards you are not satisfied with the service, follow the advice in our practical sheet to delete cookies from an Internet browser.

- The transfer interface is displayed on the left of the screen. Choose the files you want to send from the Windows desktop or locate them from the file explorer. Do the same if you are on macOS. Drop your files or folders by dragging them with the mouse directly on the WeTransfer web page without targeting a particular area.
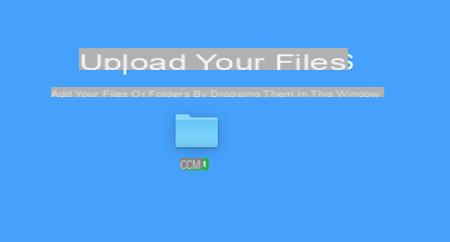
- If you are not comfortable with drag and drop, click on the link Or select a folder in the interface on the left of the WeTransfer web page. Choose whether they are folders or files and select the desired items by browsing the different directories on your hard drive in the window that then opens.
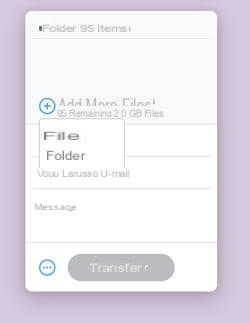
- The service then tells you how many files will be part of the trip and how much data you can still use.
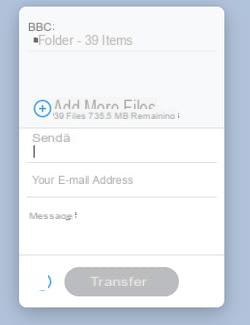
- Enter in the field Send to the e-mail addresses of the recipients of your shipment. With the free version of WeTransfer, it is possible to register up to ten. Confirm each new address entered by pressing the key Starter ( Return) on your keyboard.
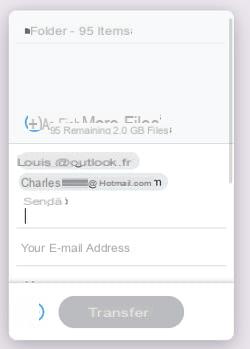
- Enter your own email address in the field just below. This will allow your contacts to identify you as the sender of the files. Finally, leave a short message to your correspondents in the appropriate field if you wish.
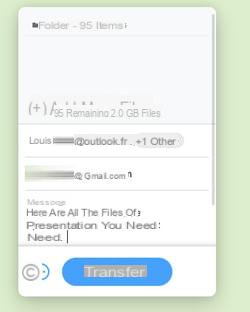
- Finally click on the button To transfer. To verify that you are not a robot, WeTransfer sends you a message to the email address you have indicated in which appears a verification code.
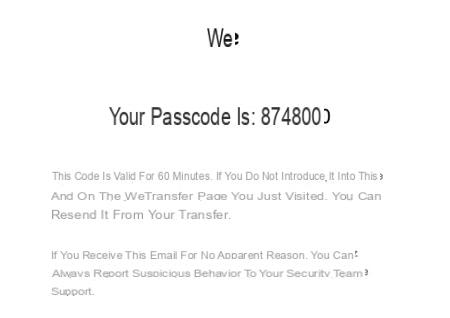
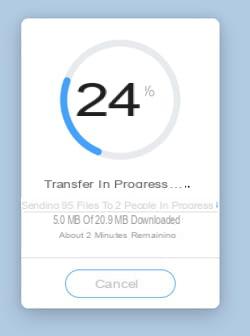
- Enter the code in the indicated field, then click on Verification. Your files then take the direction of the WeTransfer servers where they will wait to be retrieved by your recipients. The service displays a progress circle with a percentage during the operation. the duration of the transfer obviously varies according to the size of the files that you send but also according to the "upward" speed of your Internet connection. Please note, with a classic ADSL connection, sending 2 GB will take several hours! Be patient…
- If more than ten recipients are affected by your shipment, click on the round button flanked by three ellipses to the left of the button To transfer. Scroll down and check the box Get a transfer link.
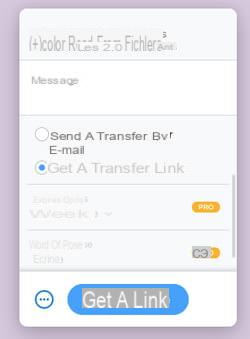
- Your files are then sent to WeTransfer servers where they will wait to be retrieved by your recipients.
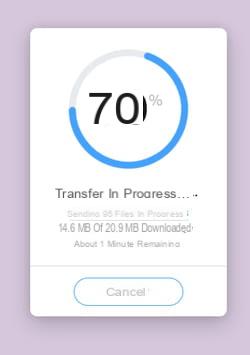
- Once the files have been transferred, click the button Copy link. All you have to do is send it to your correspondents by e-mail or from an instant messaging system.

How to recover files sent by WeTransfer ?
As soon as you have transferred your files to WeTransfer, your correspondents will be notified by e-mail of their availability. You will also receive an email notifying you that the operation was successful. All your contacts have to do is retrieve the items.
- In the email received by your contacts, there is the button Recover your files, a download link, and the message you wrote before sending.
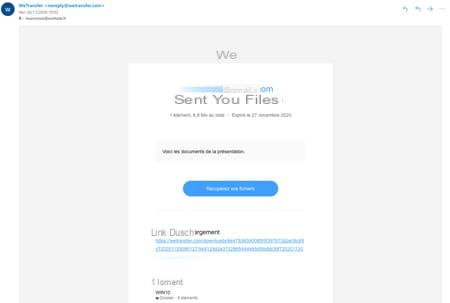
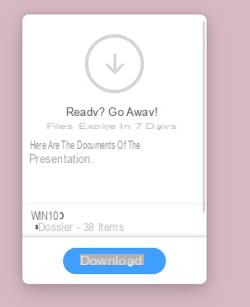
- To download the files, just click on the button. Recover your files. The default web browser will immediately open on a new tab at the address of WeTransfer. All you have to do is click on the button Download on the left of the page. An archive in Zip format is immediately transferred to the Downloads folder of Windows or macOS.
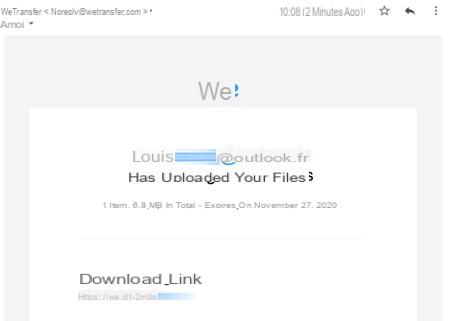
- As soon as your correspondents have retrieved the files you sent them, you will be informed by email. This letter also specifies the expiration date of the files after which it will no longer be possible to download them.
Contents Send files Recover files Launched in 2009, WeTransfer remains undoubtedly one of the most popular services for sending or sharing large files over the Internet. If he's not ...


