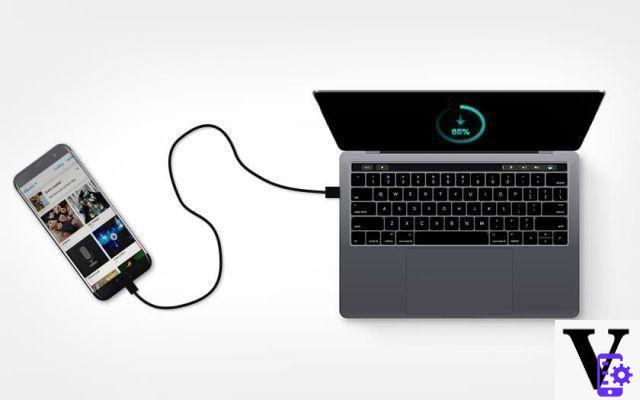
Having trouble transferring photos from your Android smartphone to your computer? With this quick guide, we'll show you how to copy your images very easily via two methods: via USB cable and directly via Google Photos. You choose which method is best for you!
When you want to transfer photos from your Android smartphone to a PC or Mac computer, you only want one thing: to make it as simple as possible. However, if you are not used to the operation, it is likely that you have wondered, for example, why the smartphone does not automatically mount on the computer when you plug it in. Or in which folder are the photos. Or how to make image transfer even easier.
How to transfer photos from Android smartphone to computer
There are actually two main methods to transfer photos: via USB and via the Cloud thanks to Google Photos which is usually preinstalled on smartphones.
To transfer photos from an Android smartphone to a computer:
With a USB cable
- Unlock your smartphone
- Connect it to your computer
- Touch the notification USB
- touch Transfer files
The storage space of your smartphone will then be mounted in Windows and a dialog box asking you what to do may appear. On Mac, you must download and install Android File Transfer beforehand.
- Open the DCIM folder where your photos are normally located or any other folder if you've edited it
- Upload your photos
With Google Photos
- If not already, install Google Photos on your smartphone and allow Google Photos to access the internal storage
- Check in the settings that backups are enabled and that you are connected to WiFi (if you have not authorized 4G backup)
- On your computer go to https://photos.google.com
- Copy the photos of your choice to your computer
- Share
- Tweet
- Share
- Envoyer à un ami


