Photo scanning
Don't wait for your paper photos to get damaged. Thanks to digital scanning, you will be able to keep your photos on your computer, duplicate them, view them on a tablet or smartphone, reprint them on paper, create an online photo album, burn them to a DVD, share them on a community site, etc. Three solutions are available to you: digitize your photos one by one using a scanner or a multifunction printer, send them to a specialized website, or entrust them to a professional photographer.Scan analog photos
The most economical solution to digitize your photos is to use a scanner. There are many models at all prices on the market, whether they are nomadic, office, or integrated into a multifunction printer. Some models allow snapshots to be scanned without going through a computer, by saving them on a memory card, or by sending them by email (connected models), for example. If possible, it is best to use a computer and the software that came with the scanner or multifunction printer, as this usually has various settings to enhance the images.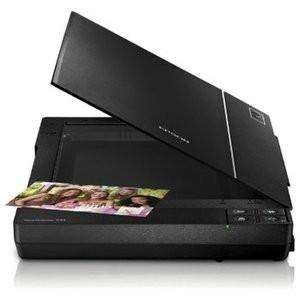
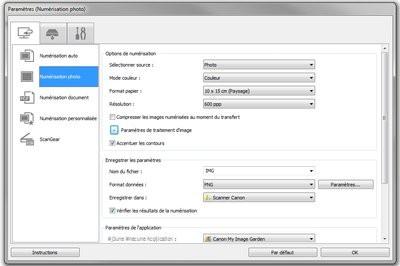
The parameters may vary from device to device, but in the vast majority of cases, you must follow the instructions displayed on the screen, in particular to position the photo as best as possible on the glass surface. From the software interface of your device (a Canon brand model in our example below), you access various parameters allowing you to choose the paper format, resolution, compression, image format (JPEG, TIF , PNG), but also to erase defects, remove dust, etc.

For best results with photos between 10 x 15 cm, 13 x 19 cm, and 20 x 30 cm, choose a resolution of 300 to 600 dpi. If you want to share your photos on community sites or social networks, choose the "JPEG" format which is required most of the time on these services. Allow 2 to 5 minutes depending on the model for each scan.
Internet scanning services
A multitude of websites have a photo scanning service: La Fnac, PhotoBox, Numériser-des-Photos, etc. For often very attractive prices, you can get electronic versions of your precious photos saved on a DVD / Blu-ray disc, or a USB key in a few days. It is also possible to order new paper prints, to have them printed on mugs (personalized objects), posters, collage, or even photo books.
Professional photographers
Small neighborhood shops of professional photographers, or chains such as Kodak Express, or Photo Service can also take care of digitizing your precious memories. In addition to their know-how, these specialists have at their disposal professional equipment and software that allow them to eliminate most of the wear, and improve contrast, brightness, etc. A preferred solution especially if your photos are very damaged, or if you have specific requests.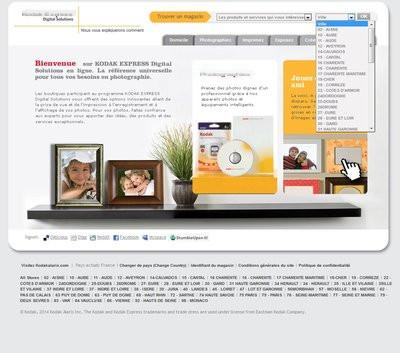










![[Review] Samsung Powerbot VR7000: the robot vacuum cleaner from Star Wars](/images/posts/6bc44de38605b5c0fa12661febb1f8af-0.jpg)

